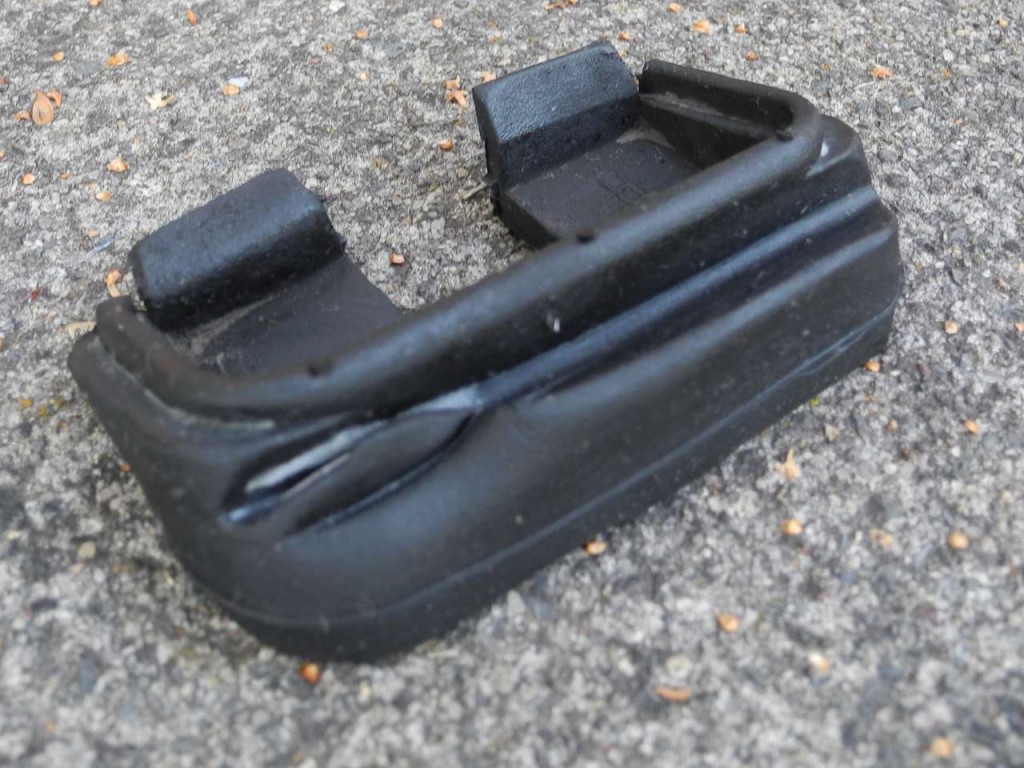
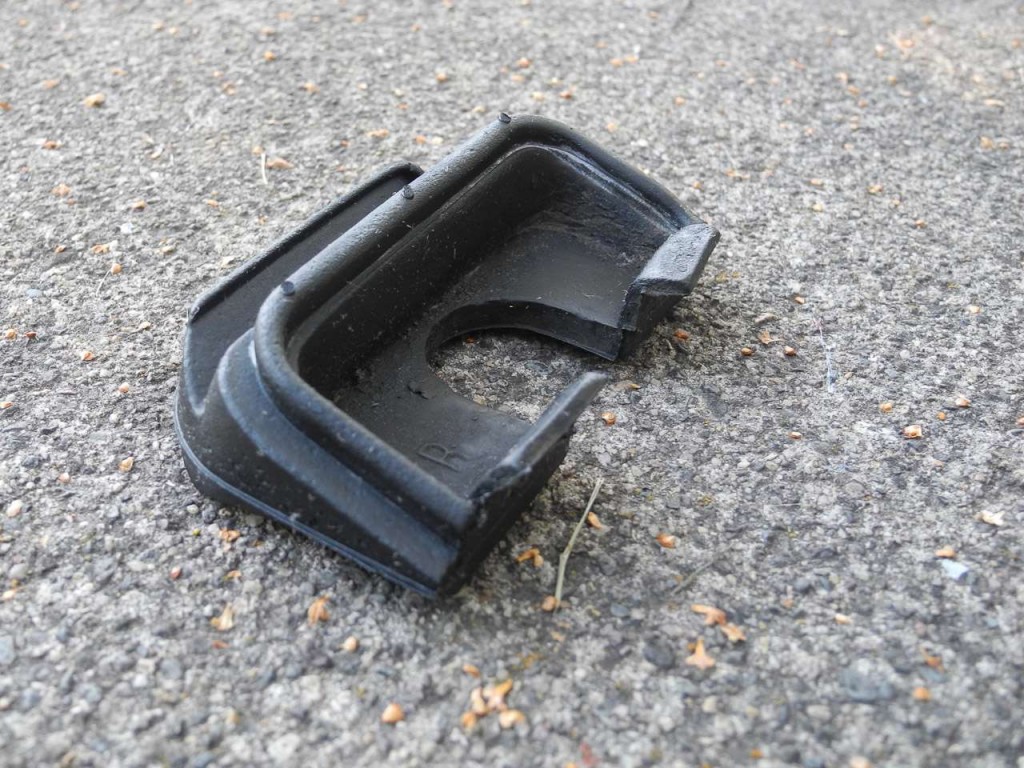
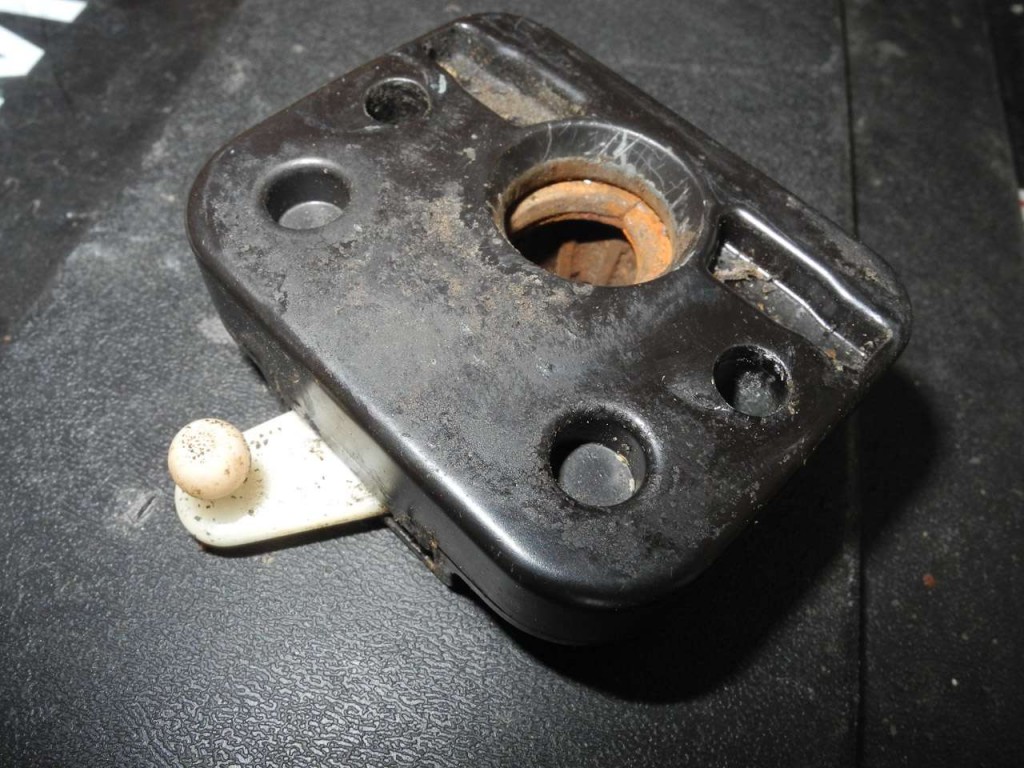
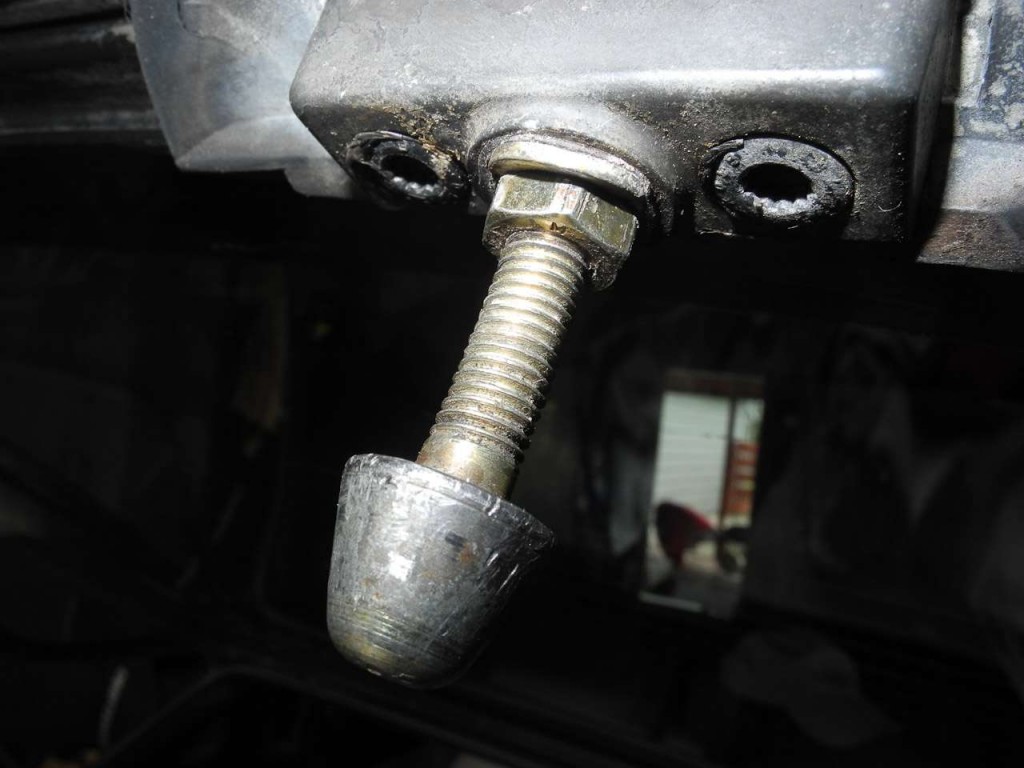
As the Blue Curse pounds down the road, it is not always easy to isolate particular sounds and noises from the jumbled cacophony of engine music, road hums, tire whines and the rest of it, but lately more and more distinct rumbles and rattles can be heard emerging from the rear deck. So I find that the rear hatch no longer fits as snugly as it once did. The hatch seal seems to be reasonably supple and properly fitting, so I have been investigating the female-male relationship between the hatch pins on the rear corners of the hatch and their sockets in the body mating surface. I spent some time trying to re-adjust the depth of the hatch pins, but with limited success. But upon scrutinizing the receiving sockets, I could see that the inset material there was badly deteriorated. So with a new set of hatch pin seats in hand — these non-standard replacements come from Only944.com — I set out today to see what replacing the old with them would entail and produce. Here we go:
Step 1
First, I assemble some tools, among them a 10mm wrench for the hatch locking mechanism retaining bolts, a 13mm wrench and pliers for final hatch pin adjustments, a screwdriver for whatever prying or the like might be required, and the new (nylon?) replacement hatch pin seats themselves. Oh, yeah, the instructions from Only944.com suggest that I will need a socket just a hair smaller than the roughly-13mm diameter of the seat, so I grab the nearest thing I see. Not shown are my indipensable Gorilla Grips.
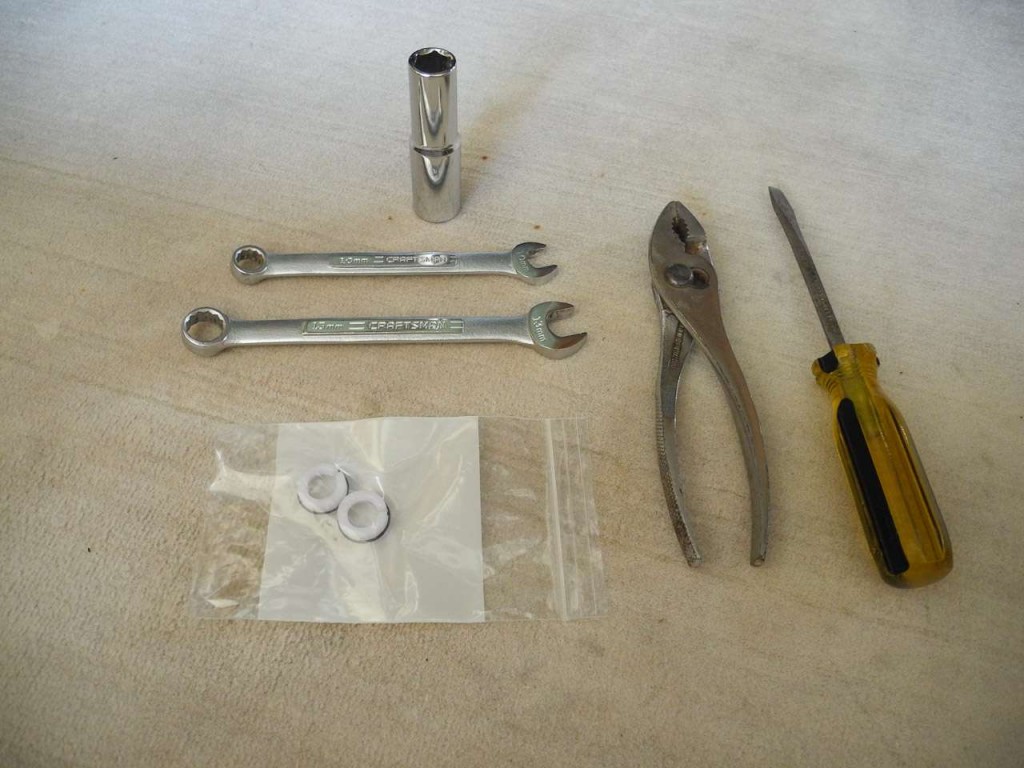
Step 2
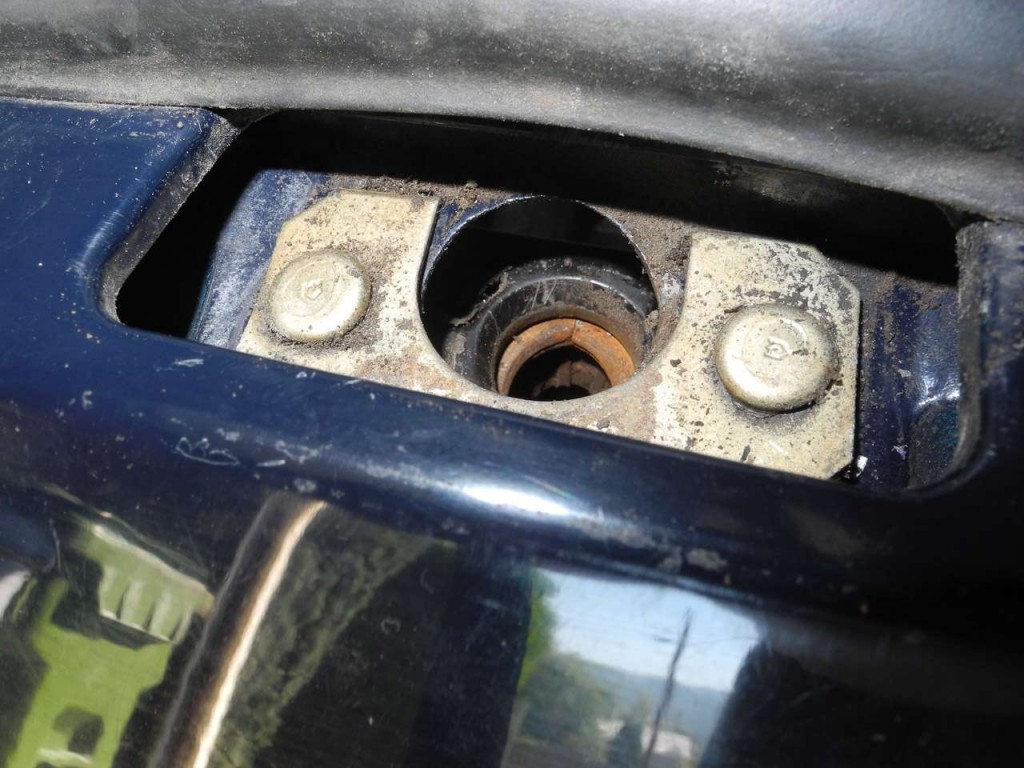
Once the hatch is lifted, next up is the matter of removing the rubber seal that tops the retaining bracket and bolts penetrating the body and holding the inside lock mechanism in place. Looks kinda grim down in that rusty hole.
Takes a little tugging and careful stretching.
The thing seems to be fairly supple and in better condition than it looks.
A little gentle screwdriver prying is all that is needed …
And it is out. Next, a little customary cleanup and some non-silicone dressing.
UPDATE 9/15/13: Today I just came upon a tutorial from fellow 944 owner Dave in London, whose wonderful site, 944 Foot 2 The Floor, covers, in his latest piece, installing new rubber hatch seals of the kind discussed here. Fortunately, my seals appeared to be in much better condition than Dave’s, so I reused mine as you have seen.
Step 3
Now the gold (?) plate under that rubber is exposed, so we need to get to the lock mechanism. Start by unsnapping your carpet to reveal the inner tail end of the rear deck.
Leaning over the rear deck and peering inside the hatch area, we can see the lock mechanism just above the taillight housing. A hose exits out the bottom tray that is held by the bolts that we saw on the gold plate.
And our 10mm wrench is applied to each bolt on either side of the lock mechanism. (Avert your eyes from the views of non-concours carpet and other questionable areas.)

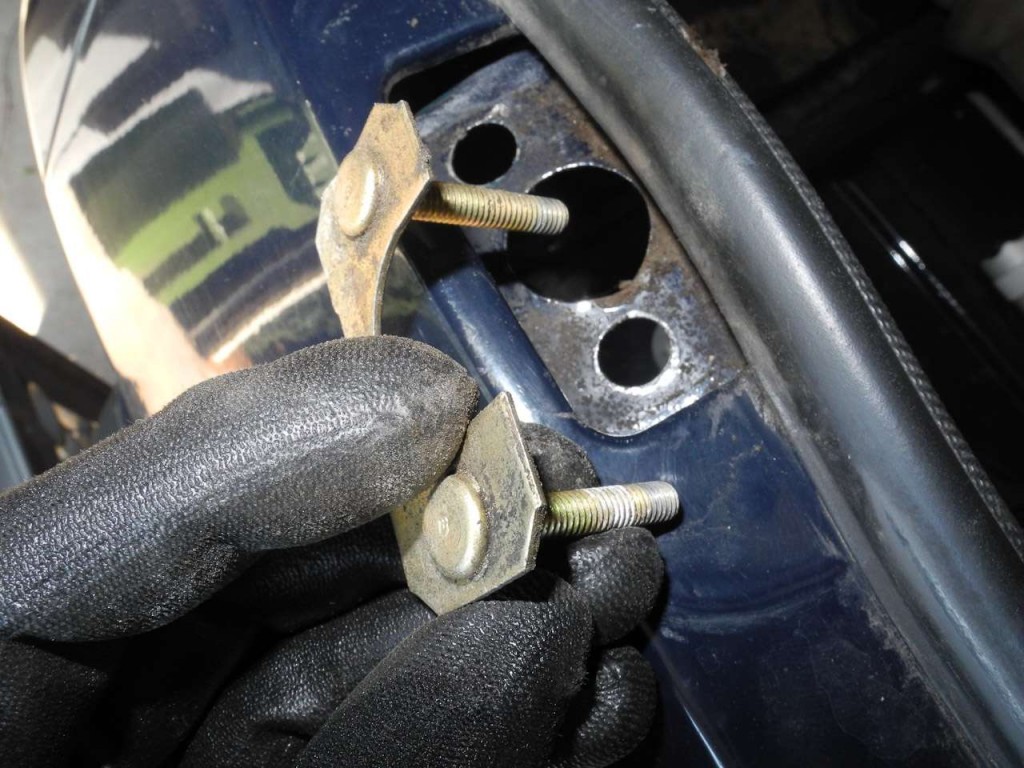
Now we can remove the gold plate, gently pushing upwards from the inside on the now-de-nutted bolts. I should mention that my Gorilla Grip “Grease Monkey” gloves were absolutely splendid in helping me handle the nuts and washers which could have easily cascaded in freefall down into the bowels of the hatch.
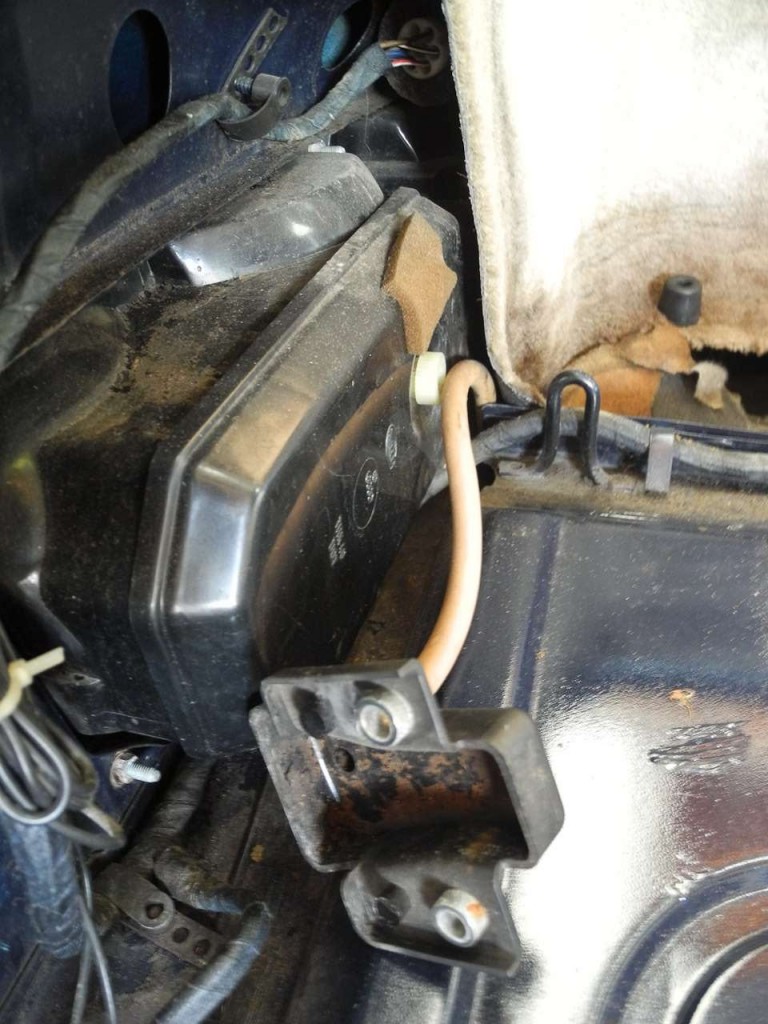 And now the bottom tray of the lock assembly hangs loose, so we push it aside.
Step 4
Now we need to detach the lock mechanism itself. This starts to get a bit trickier.
The rod above the lock mechanism extends from the keylock turn itself and is terminated here with a ball socket end into which a ball on the white lever above the lock is inserted. But there is a subtle little lever that seems to work as a safety snap on the ball socket, so that has to be released, or pushed aside, at its top end first.
Now a gentle twist on the hatch pin lock assembly itself should snap its ball free from the ball socket.
Step 5
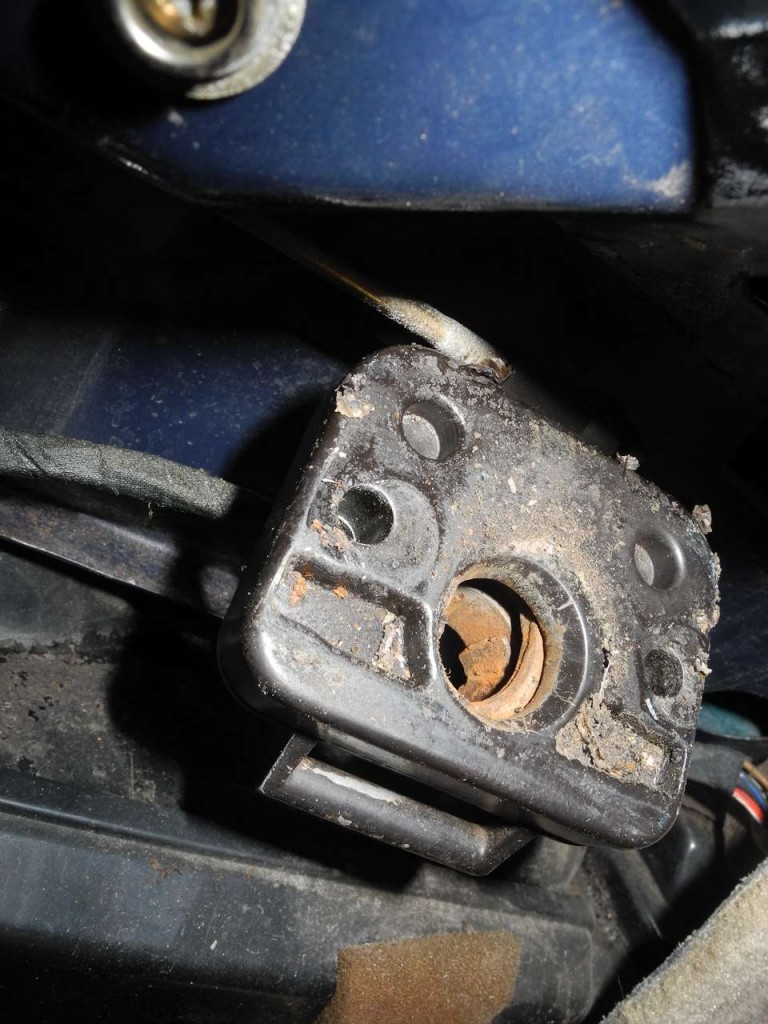
Now that the lock mechanism is free, we can concentrate on cleaning it up. Only944.com warns us not to use any liquid inside the area where the rubber gasket or grommet or its residue is found. Just remove the debris and wipe it clean with paper towels or a rag.
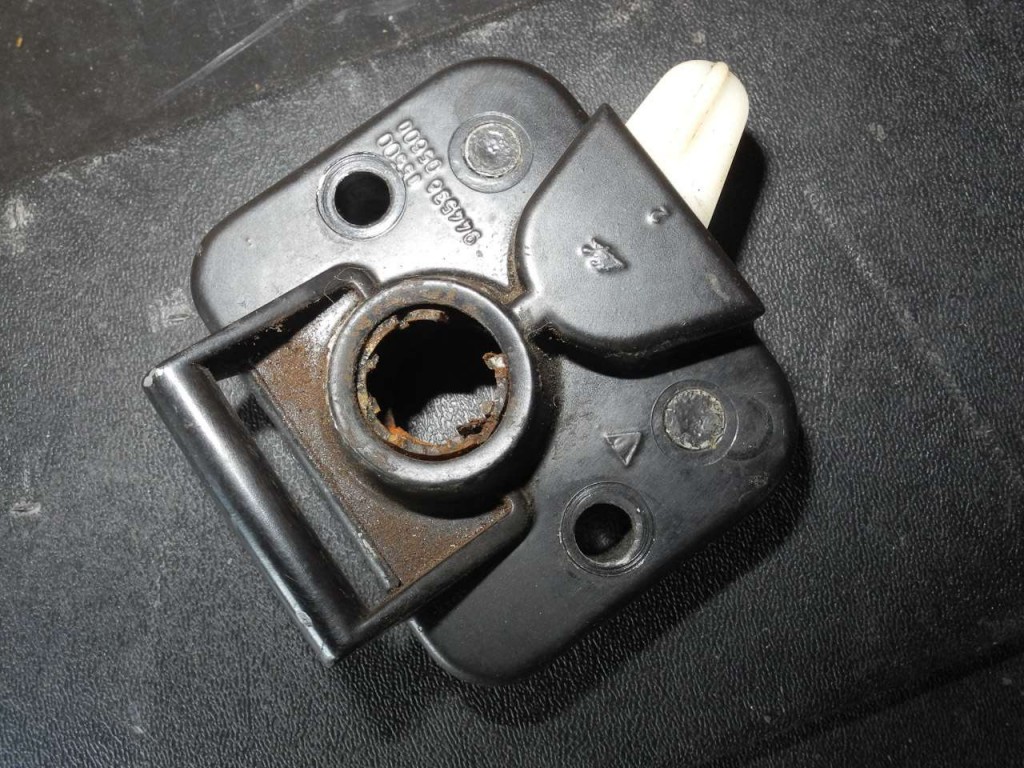 A view of the other side of the lock mechanism.
Here’s some of the debris that came out of just one of these mechanisms (you haven’t forgotten that you need to do both of them, have you?).
Okay, by now we have a more or less pristine lock assembly that is ready to accept a new Only944 Hatch Pin Seat.

Step 6
Now we insert the new seat. Truth be told, on my first assembly, I almost failed the IQ test that it entails, and couldn’t quite get the hang of getting it properly centered and located. But I went back and studied the Only944 HPS instructions and eventually got it in place. I ended up using a 12mm socket to help push it through the opening until it smartly snapped into place. The second assembly took about 10 seconds to install, by the way. Zen and Art of Porsche 944 Maintenance.
Step 7
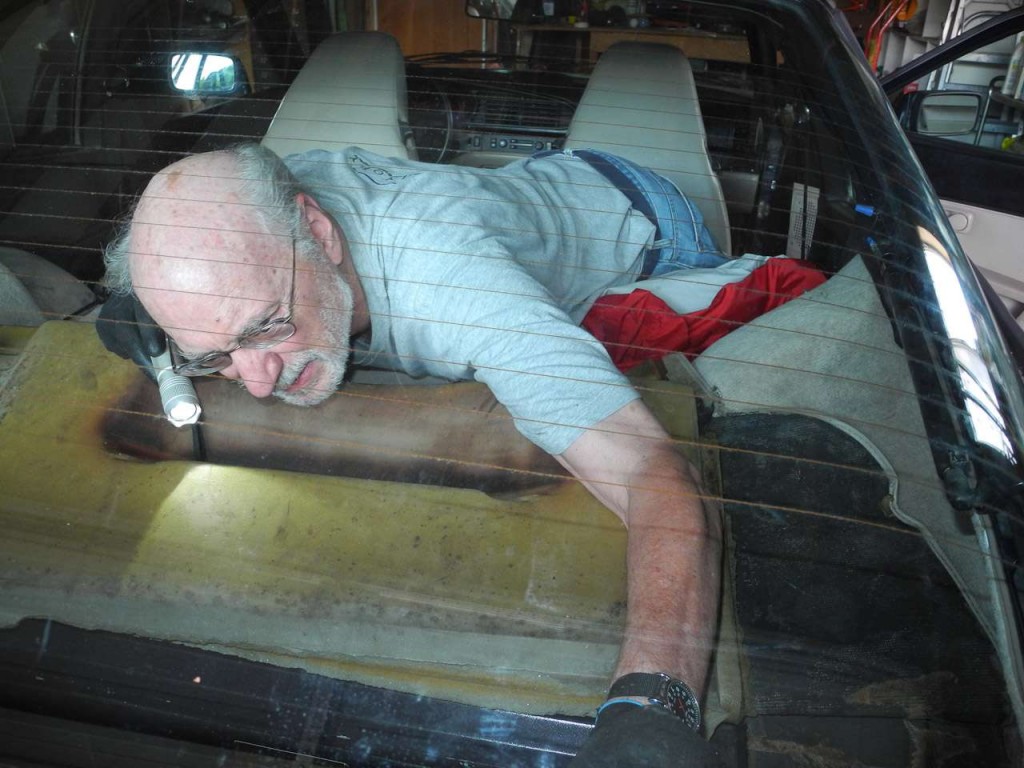
Next, we just needed to put everything back together in the reverse order in which we removed it. Sounds simple, but that darn ball socket was a bit challenging, especially as I seemed to have only about 1/32 inch free movement. Then I nearly forgot to snap shut the little locking lever on the socket, which was its own slight but short-lived frustration. Again, with the aid of the wonderful Gorilla Grips, replacing the washers and nuts was an eyes-closed (the right corner unit was in total darkness that my LED flashlight could not penetrate) easy operation.
Please note that, in anticipation of the final step of aligning everything, you should only finger-tighten the lock assembly bolts to allow movement during the calibration/alignment process.
The final step of re-assembly was to somehow stuff that rubber business atop the gold plate into its receptacle. Something akin to the trick an octopus has of compressing its own volume and camouflaging itself into a small, unrecognizable shape. How the heck can a piece of rubber that big fit in such a small place? Well, with some firm but gentle tugging here and there, I was able to stuff it back into a reasonable facsimile of the thing that I started with.
Step 8
Finally, after everything has been returned to the approximate starting state, except for a shiny new seat-grommet-thing in the hatch pin socket, it was time to address what turned out to be the hard part. Well, actually, not that hard.
We are talking about aligning everything properly, starting with the male end of this proposition. You can see that these hatch pins have put in some time during their existence.
This final step is a matter of loosening the retaining nut, then rotating the pin itself until you get proper … closure. And proper locking. and unlocking. I have read about five different versions of how to do this systematically and properly, and I suppose that Only944’s instructions are as good as any. Anyway, I think actual video might better serve to illustrate this process, and since I’m not sure that I achieved absolute optimal results, I may reserve that for a Part Two to follow-on from this post. In the meantime, I can report that both sides of my hatch are locking down firmly and the thing is rattle-free. Maybe that’s good enough, at least for now.
And I find that my dear wife sneaked in to document the awkward part of the final fitment in which I was obliged to wriggle my six-foot, two-inch frame into the back deck with the hatch down to make some adjustments (remember the mention above of only finger-tightening the lock assembly bolts at first?). Not to mention the afternoon temp today of just under 90 degrees F. As luck would have it, wife Kim is a yoga practitioner/instructor skilled in human body repair and restoration with massage, so I survived.


