Herman tells me that the rear speakers in his ’87 944 (slate grey metallic exterior/burgundy interior; you know, that one) needed to be replaced, so he sent along a message describing how he did it, in case I ever needed to cover the same ground. So, why not share this information?
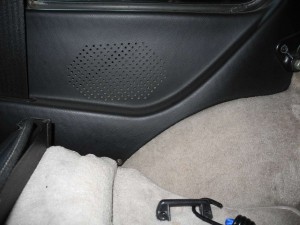
To orient ourselves, I made a couple of quick snaps of my speakers. They are positioned on the side panels immediately behind the seats and just beneath the rear quarter side windows:
Now, to quote from Herman’s email:
There are several tools one should have before starting (besides a set of 4 X 6 speakers.) Incidentally I purchased JBLs and am happy with them. They are relatively economical and fit perfectly. They also have slots rather than holes, which makes installation easier. Be sure to have a shorty philips head screwdriver, two flat blade screwdrivers, a pair of needle nosed pliers, and a good flashlight–it’s dark in there. Also a foot long object such as a dowel rod.
There are two philips screws to remove, one on the door sill where the panel wraps around the front, and one about where a passenger’s elbow would be. Both are easy to find and remove.
Then remove the black strip of trim that holds the panel to the metal. You can see it vertically in the second photo. It is easy to remove, but be a bit careful, as over time the vinyl cover (in my case Burgundy) can attach itself to this trim piece or even the metal, and tear if you pull on it improperly.
Secondly, you must work the vinyl cover out from underneath the black rubber molding around the lower edge of the window. I did this by carefully using a flat blade screwdriver, prying up on the rubber at the front of the window in the corner and carefully pulling out the vinyl. Again, it can tear, so be very patient. After it is started, you can slowly pull the panel outward, and the rubber should release, but do it carefully and watch that it doesn’t stick underneath and tear.
Take your dowel rod and prop the bottom of the panel away from it’s original position about a foot. With your shorty philips, take out the four screws, pull off the two wires on the back of the speaker, and remove the old speaker. Pull the wires out as far as possible for re-installation. There is usually some slack to be had.
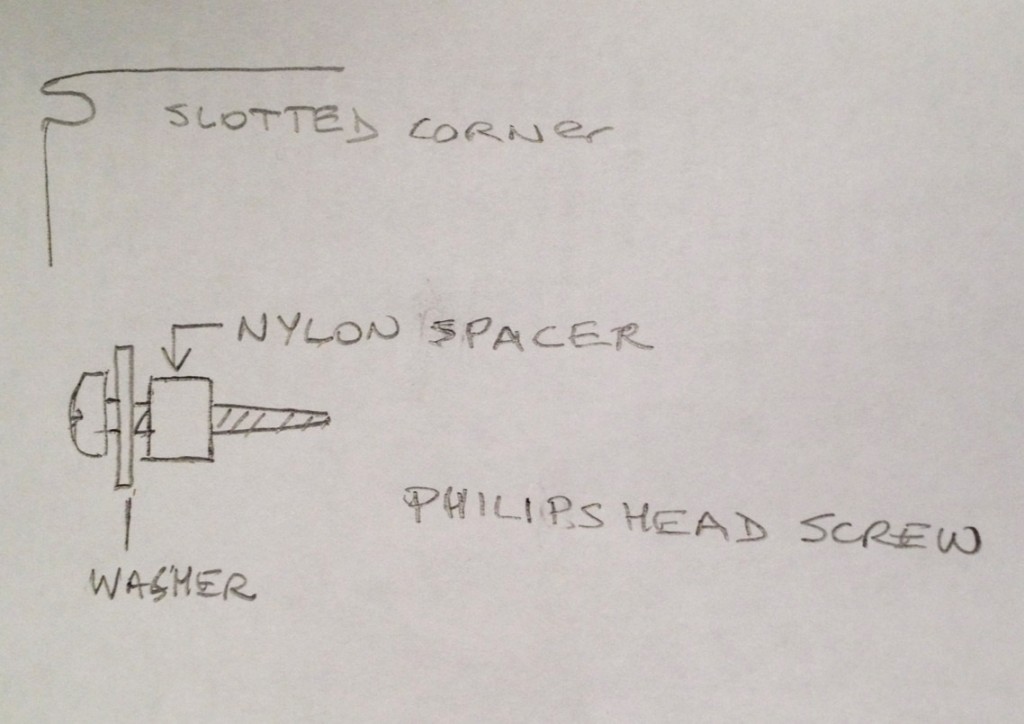
You will notice that the four metal screws have washers and one nylon spacer each. This spacer keeps the speaker mount from touching the metal, which secures it effectively and dampens any undesirable vibration that might occur. Two of the nylon spacers fell out, but were easy to retrieve. They simply fell down into the cavity between the panel and the body. Another good reason to have a flashlight.
Fit the speaker wires over the corresponding posts, which are different sizes so you don’t have to worry about polarity. Be careful as the posts are fragile. I checked mine and found that the fit was not tight, so after slipping the wires over the posts I gave them a little squeeze with my snip-nose pliers.
Because the replacement speakers had slots rather than holes, I was able to pre-set the back screws. It is easiest, especially if the spacer has fallen out to put the screw through the washer, then the spacer, and screw it part way in with your fingers. Do this with both rear screws, leaving room to slide the speaker mount between the washer and the spacer. In other words the washer should be on the outside of the speaker mount to help hold it securely.
After the speaker is slid in under the two rear screws, insert the other screws. They are closer and much easier to start. I then snugged them down and then tightened the rear ones.
I then took out the dowel rod and closed the panel. The first thing I did was to reinstall the rubber molding under the window over the panel. It is shaped to fit neatly under the molding. So here is were the two straight blade screwdrivers come in. I started at the back near the rear corner of the window and gently pried up on the molding as I gently pushed in place with the other screwdriver. I did this about 1/2 inch at a time. The molding on my car is quite strong and fit down very well over the panel and the bit of excess vinyl. Then I fit the black PVC strip around the door molding and everything looks as good as new.
The key word here is patience, because there isn’t much room to work, so you will have to contort a bit, but it is worth it, and not very difficult if you take it slowly.
Thanks, Herm.


