
In the first installment (Sunroof Subversion – Part 1) we identified the nasty problem of vandalized & ruined sunroof rear hinges/lifting arms and our proposal to replace this defective power sunroof setup with a manually-latching alternative. So I take camera in hand, occasionally passing Jason a tool and lending a hand, but mostly trying to stay out of the way. Let’s go.
TEARDOWN
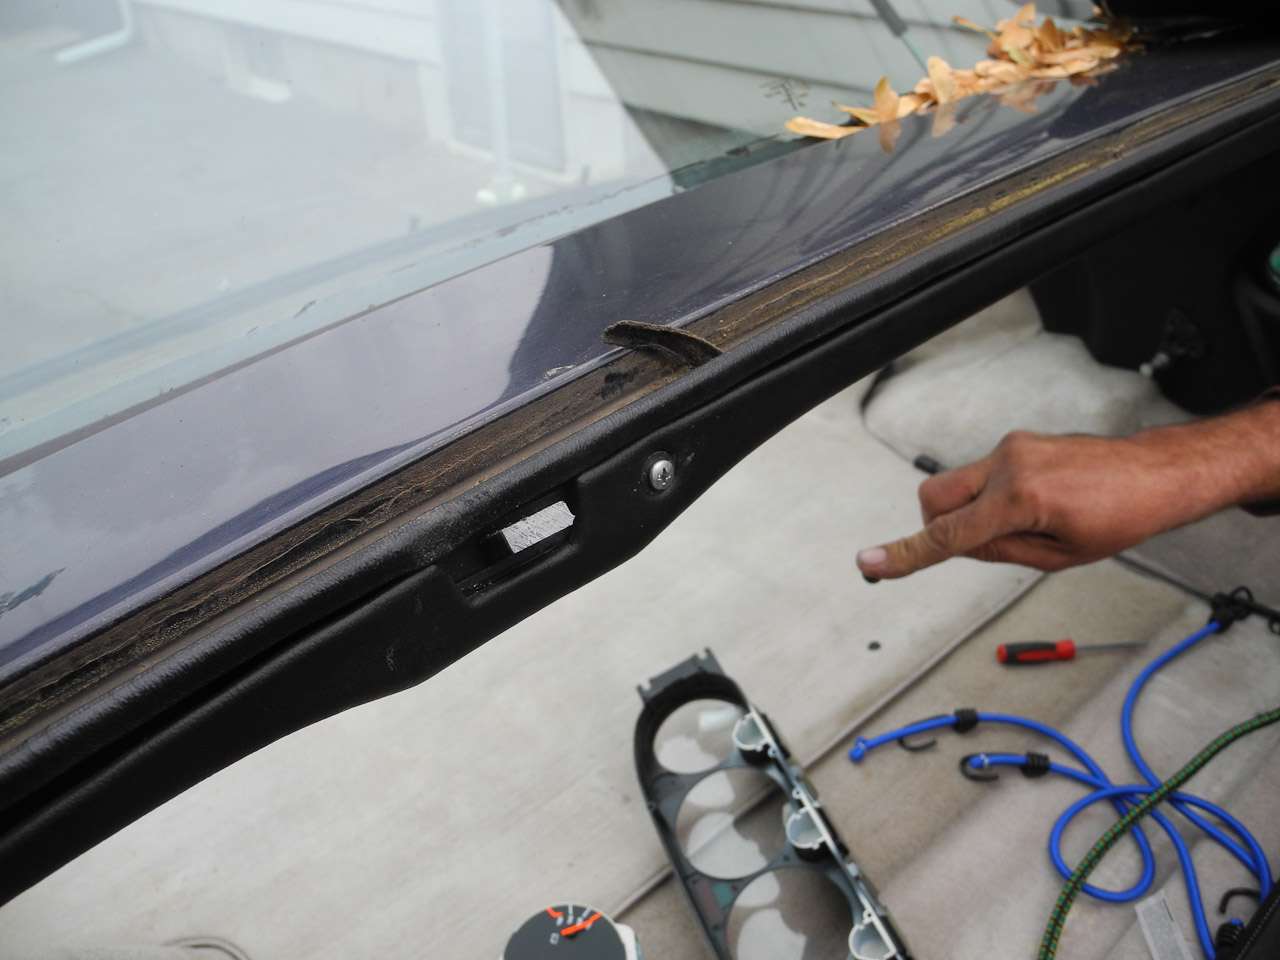
The first task is to expose the rear sunroof apparatus, removing caps from the rear headliner retaining piece to get to the phillips screws.
-1
-2

-3

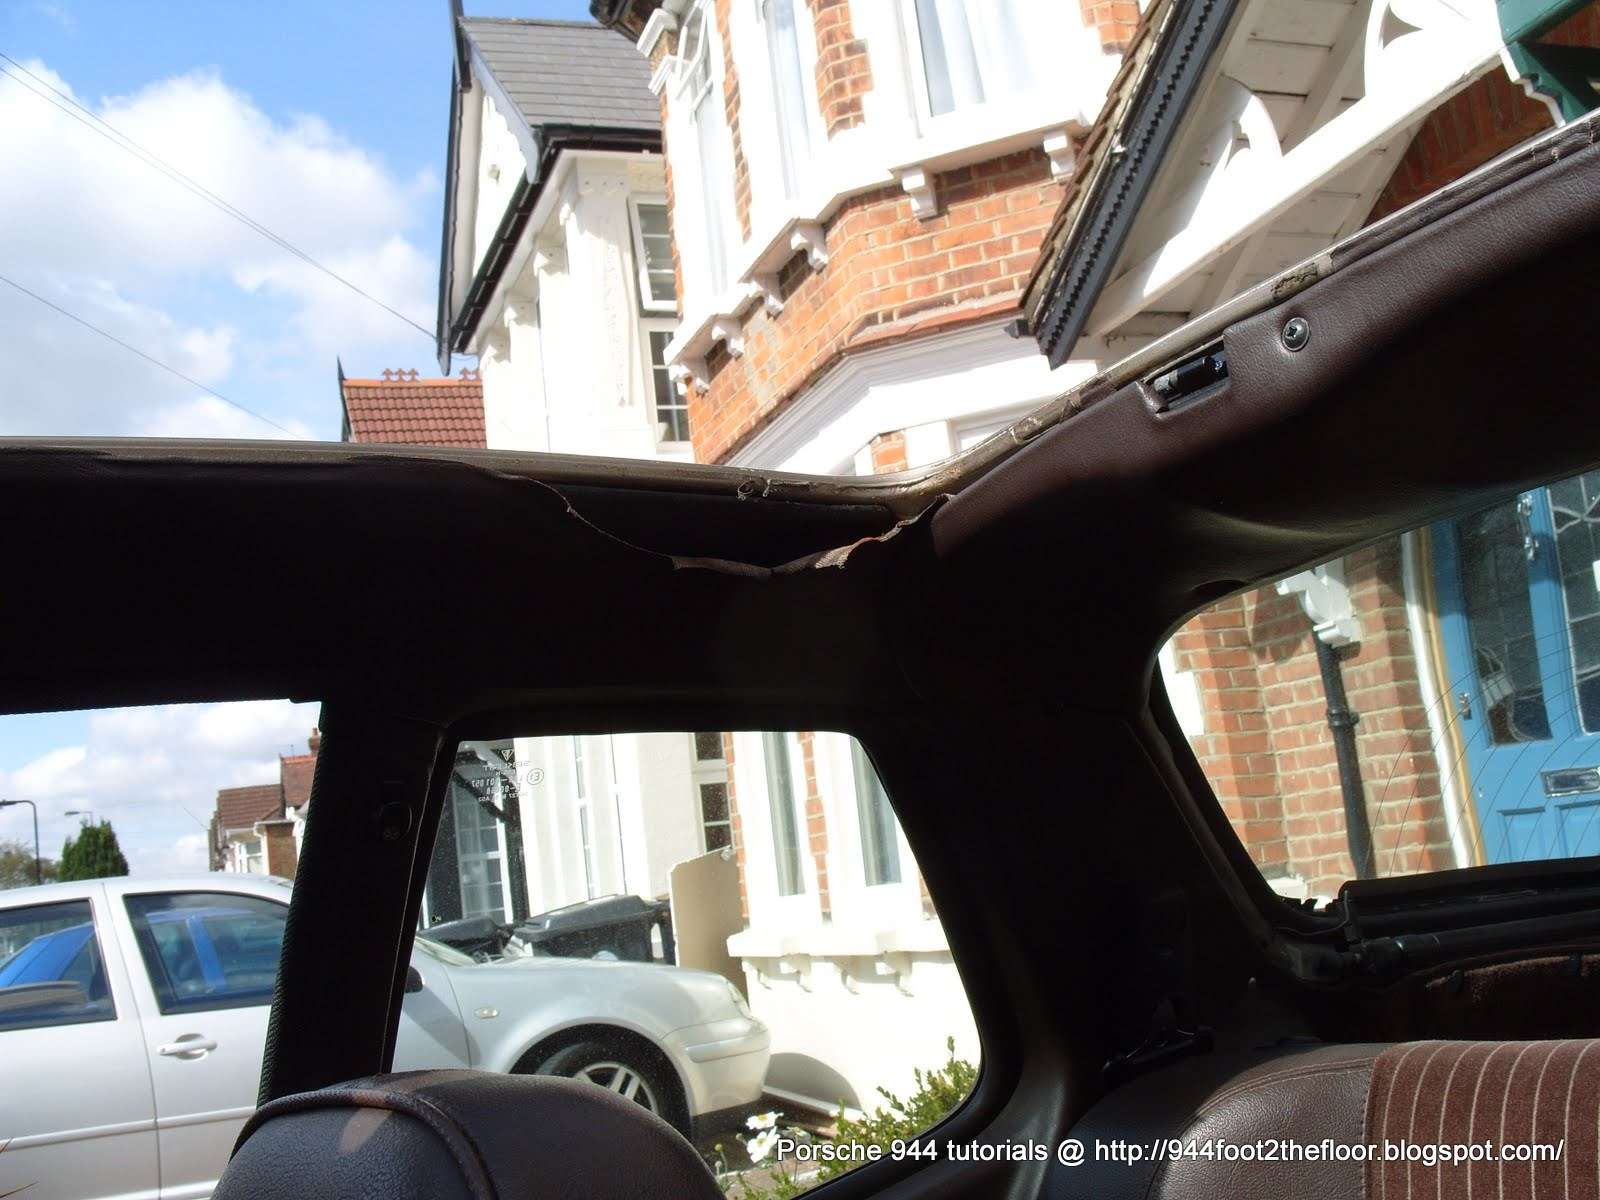
To perhaps give you a clearer context of where we are working, I am taking the liberty of grabbing the photo below from a great headliner fix tutorial by one of my very favorite 944 sites, 944Foot2TheFloor. Not only does this site arguably have the best-named blog in the 944 online interwebs universe, but it has some of the greatest tutorials of any kind you are going to find. God bless the Brits. Take a look:
944foot2thefloor …
Now, back to the USA …
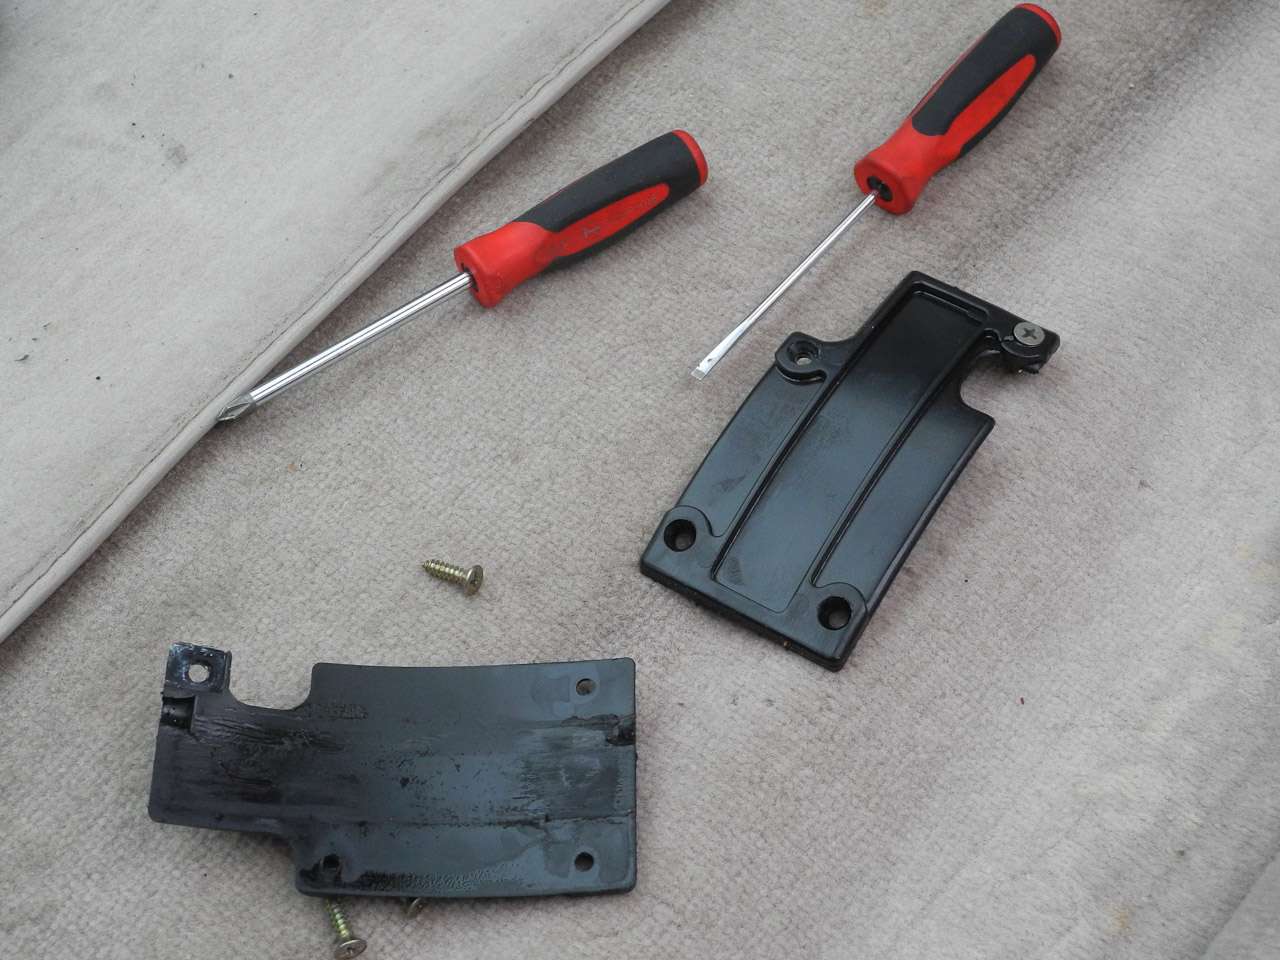
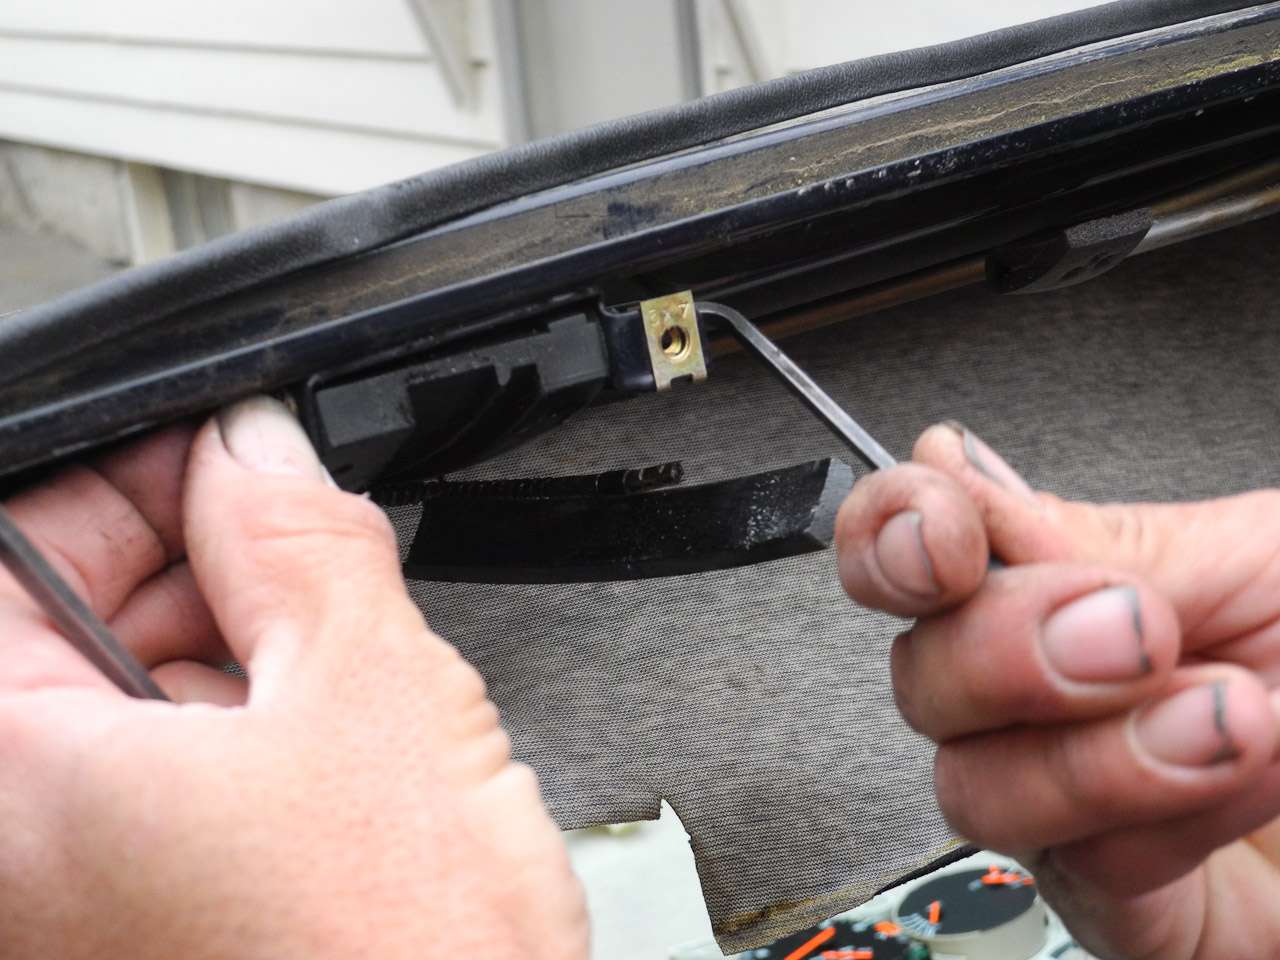
We can now drop the rear portion of the headliner and see more clearly the guide mechanism into which my sawn-in-half lifting arms are supposed to retract. By removing the lower retaining cover pieces of this mechanism, we can free the lifting arms.
-4

-5

-6

-7

-8

-9
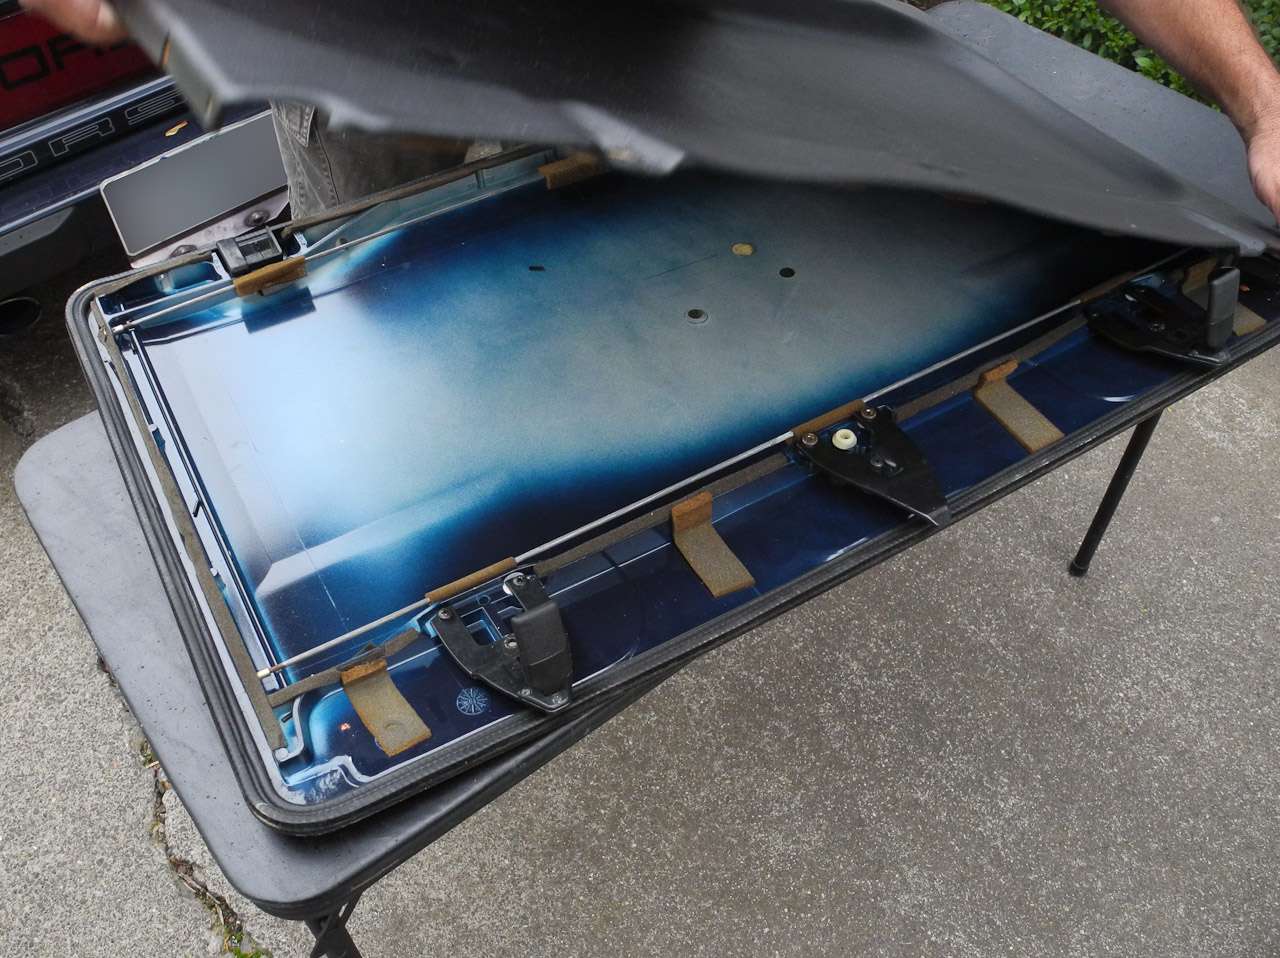
Now we can address the sunroof gear assembly, which is irrevelant to our needs:
-10

-11

-12
-13
-14

-15

-16

-17

Outta there:
-18

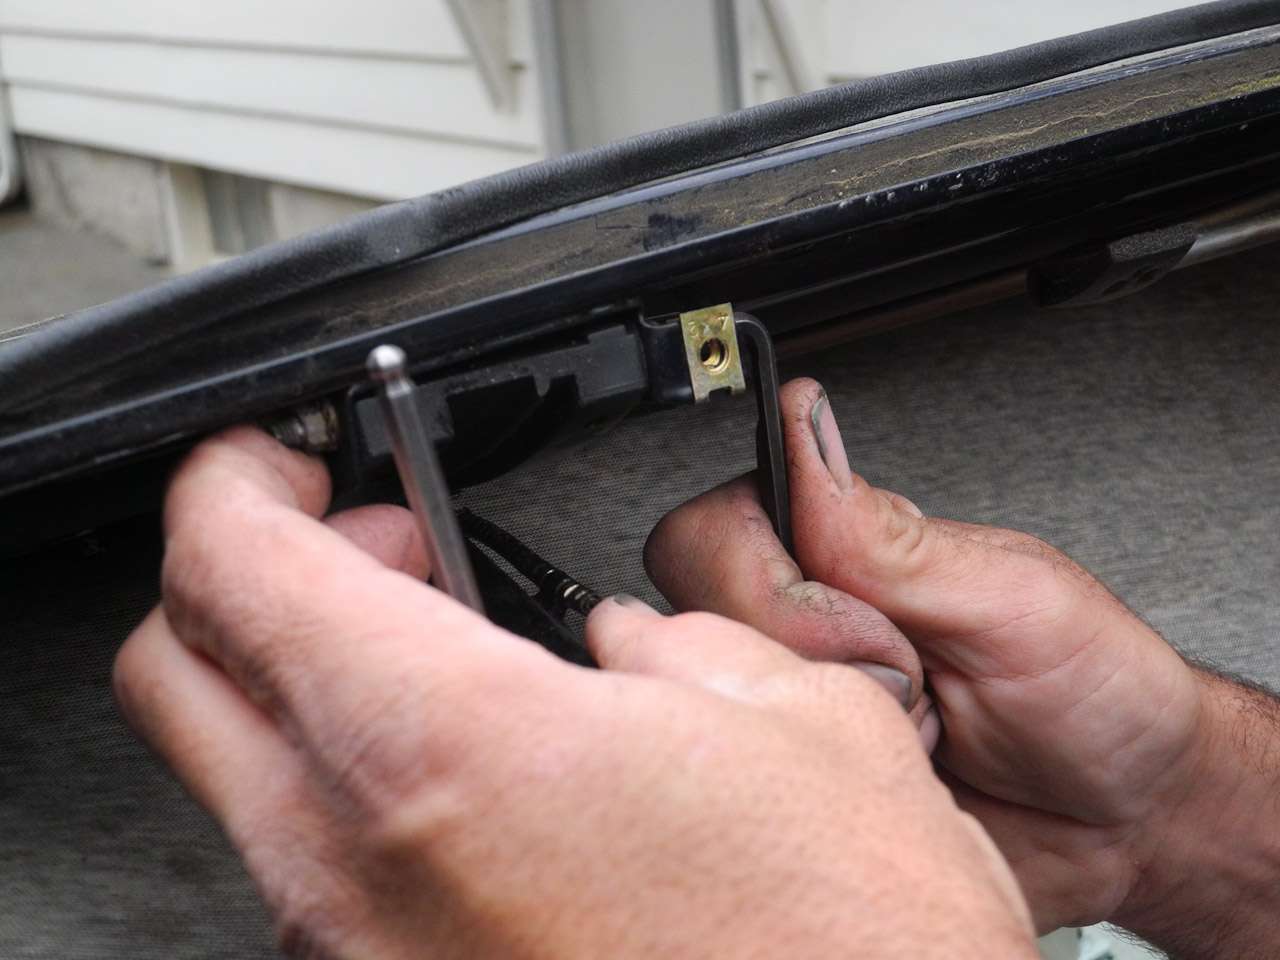
Returning our attention to the sunroof itself, we now need to remove its headliner/cover piece to get at the female “slots” that the male lifting arms once joined with, presumably harmoniously. I lost count of the screws involved here, including those rather tricky pin/push affairs that have to be removed.
-19

-20

-21
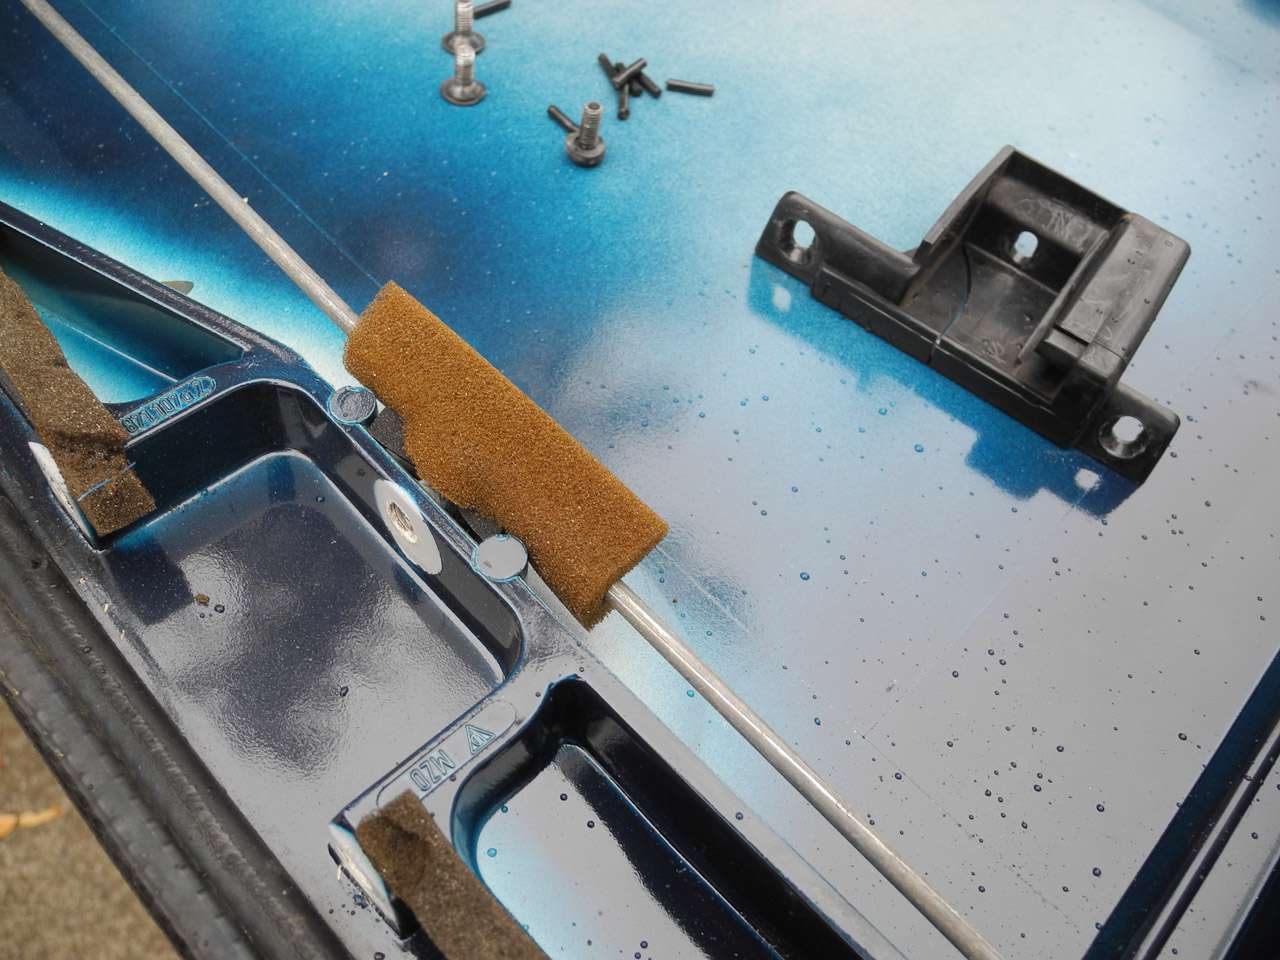
At this point we can remove the female receptacles (don’t ask me for the official nomenclature; I haven’t found those yet in the WSMs or wherever they are documented).
-22

-23
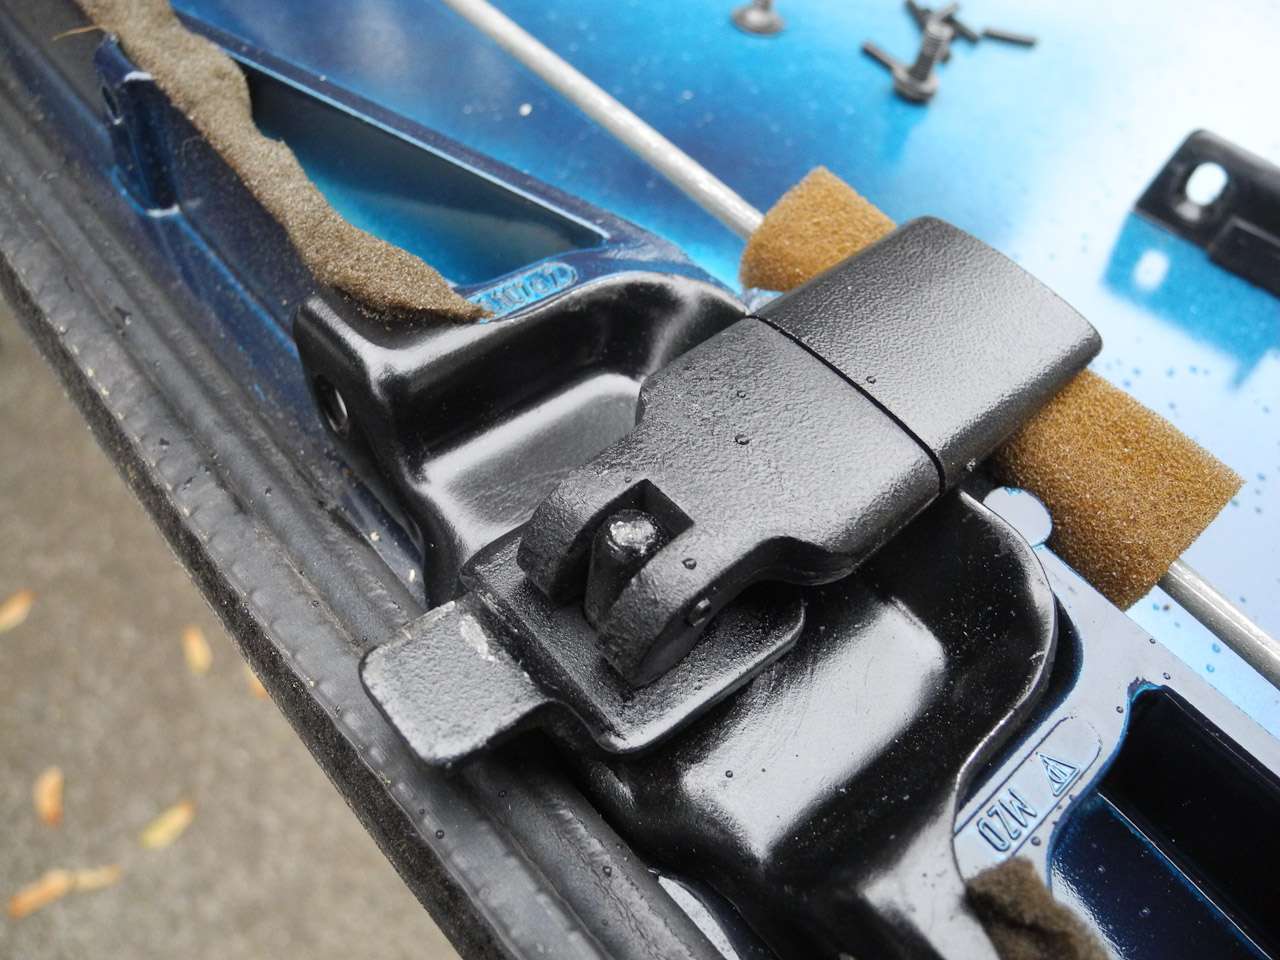
And now we can do a trial fit to see if all is going to line up in more or less the right manner:
-24
-25

-26

Voila! Now to install the new rear manual latches for real. But as luck would have it, we have been working outdoors (in Jason’s neighbor’s driveway, as his own garage is totally overrun with his various projects) and it (the known universe) decides to rain. So we need to interrupt our work and find a new workspace. Bear with us and follow on to Part 3.