This is the final installment of our project to convert my defective 85.5 NA power sunroof to strictly manual operation. This will be accomplished basically by installing manual rear sunroof latches in place of the original powered counterparts. See Part 1 and Part 2 for steps that lead us up to this point.
GETTING IT TOGETHER
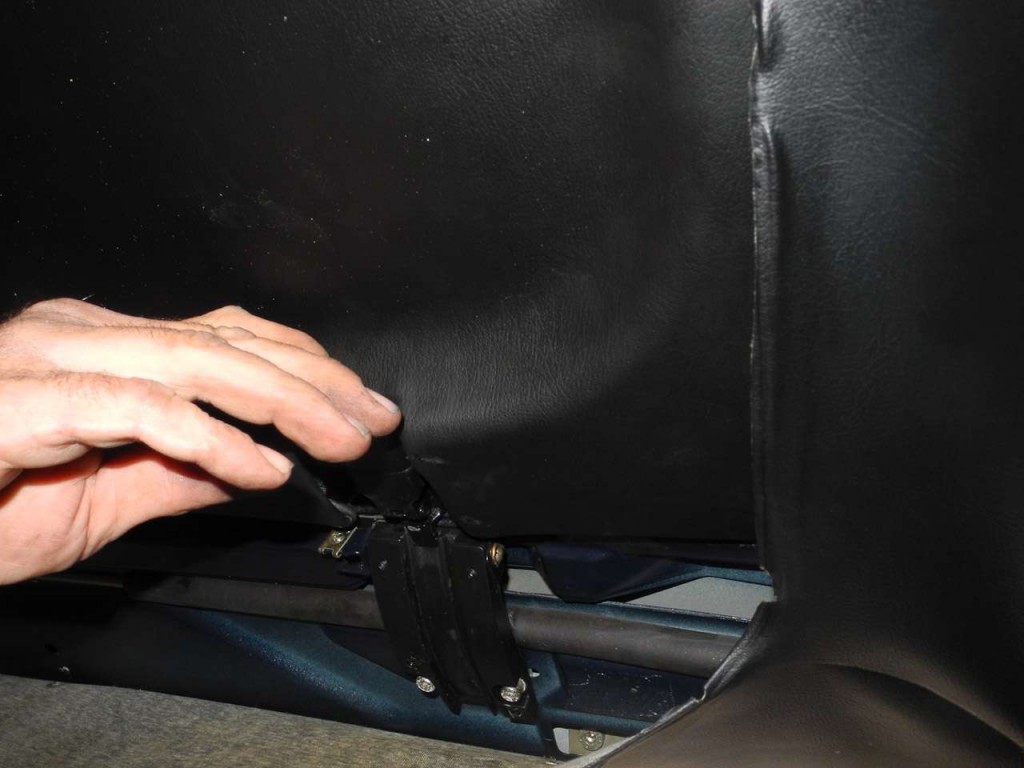
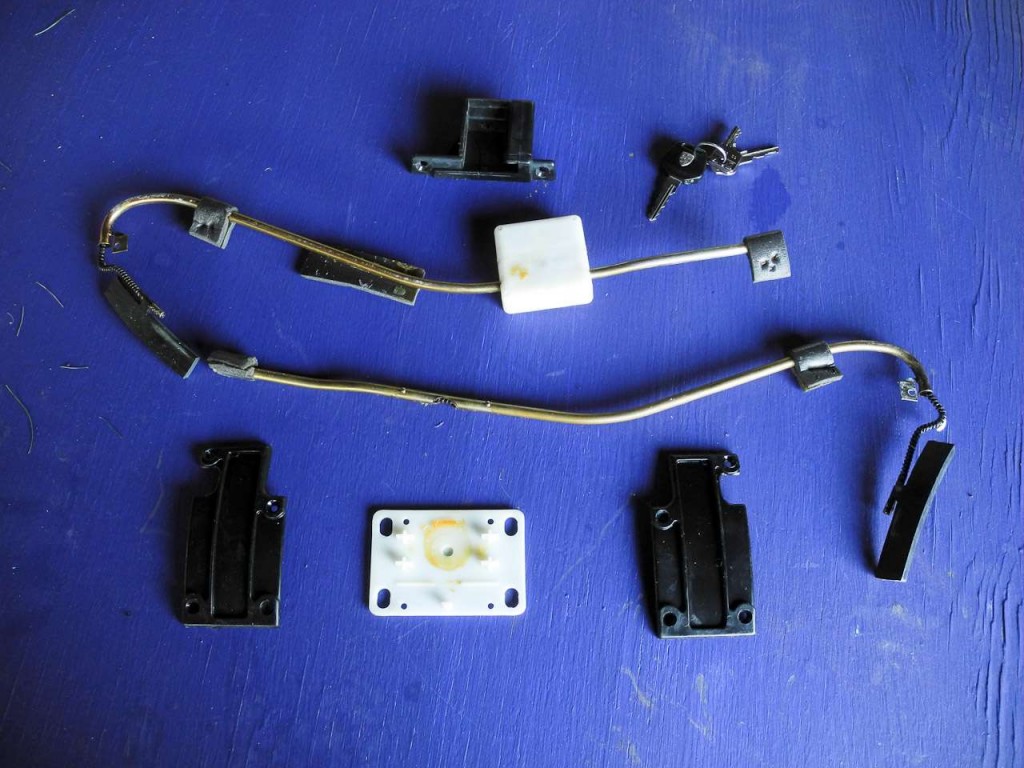
By now we know that the used manual latches (I don’t know their origin; I suspect a 924 or maybe an early 944; I have never seen such a thing on a late 944, but there’s much I have yet to see) I found on eBay bolt right up to the sunroof, so now we have to do a final trim and fit. What’s important here is to provide clearance for the spring-loaded latches to open and swivel to permit sunroof removal.
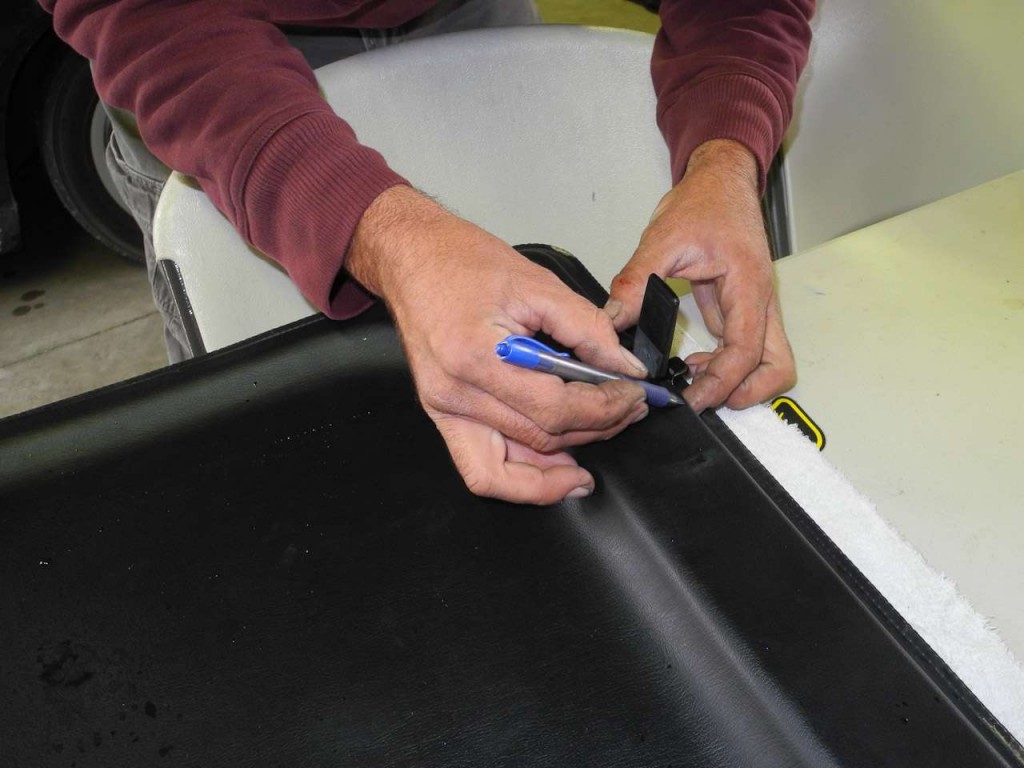
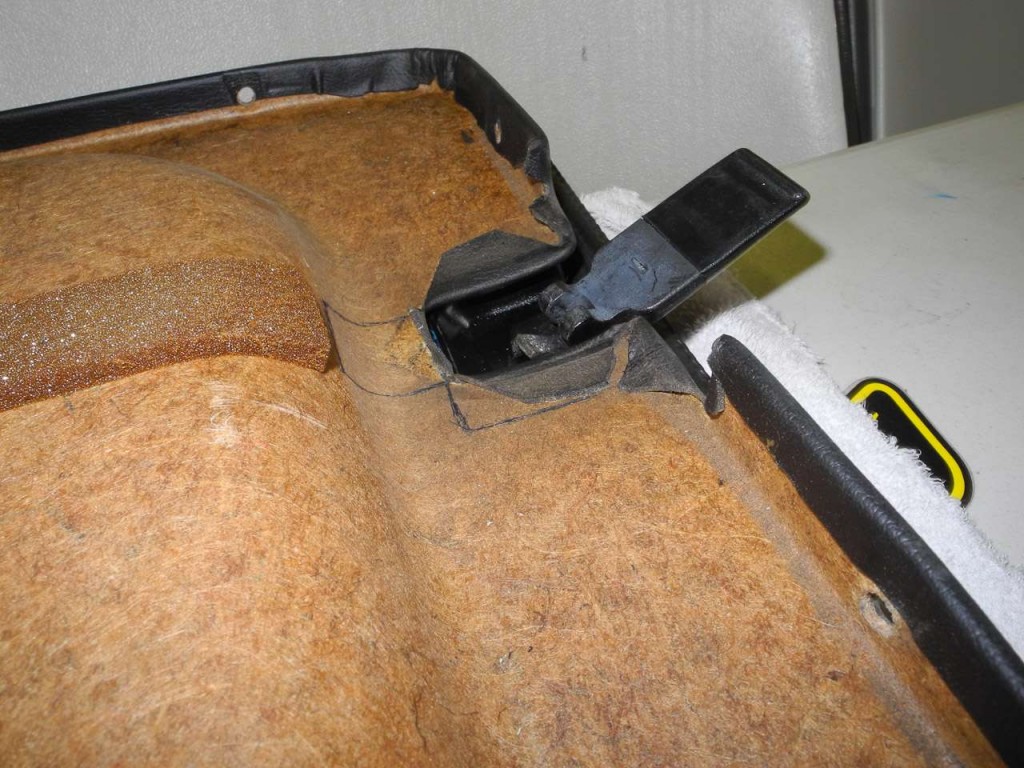
First, we mark the headliner fiberboard for a cut mark to be made on its underside. Then we carefully pull the vinyl (I guess that is what the material is) at its edges away from the backing board, trace the cutout marks on the board’s underside, and cut away to give us a wider path for the latch. Then we delicately wrap the loosened vinyl over the new cut margins, slicing and trimming so that no seam or cutline will be visible from inside the cabin. Finally, we reattach the newly-formed vinyl flaps with adhesive.
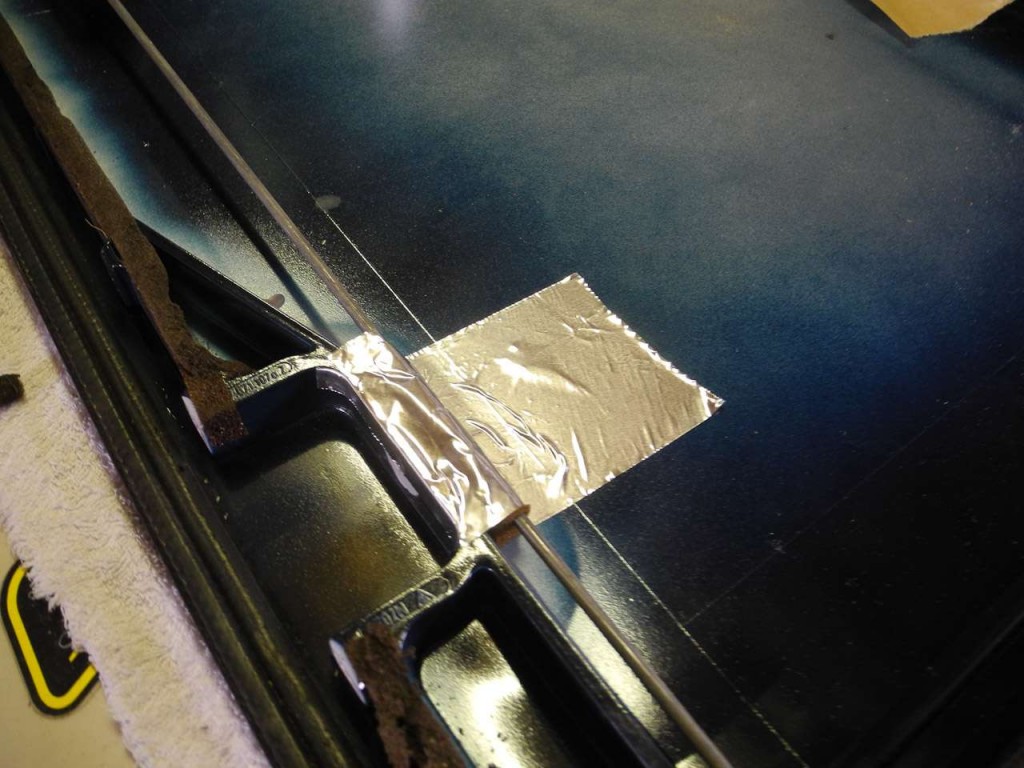
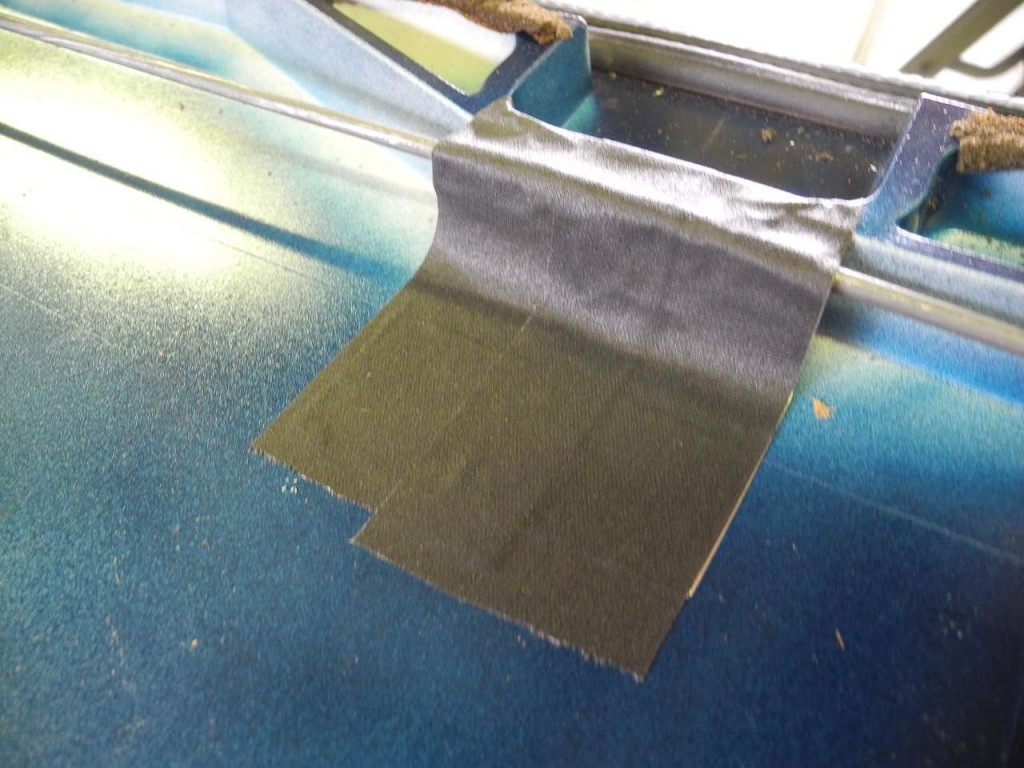
To better protect the inner sunroof tensioning and foam pieces, we build up a little structure by wrapping some aluminum tape on the inside flange of each latch socket. Then we overlay this shiny stuff with something that will blend into the dull black color of the headliner itself. Turns out that a few layers of some matte black gaffer’s tape I happen to carry with me will do the trick.
Now we turn our attention to the areas of the body where the sunroof latches will engage. We start by trial-fitting the guide pieces for the original lifting arms, and find that each has a raised area that does not provide quite the right fit and clearance when contacting the manual latch. So we gently grind and file the pieces to a state of flatness:
And now the roof-body interface seems smooth and flush:
The final steps involve the rather delicate task of slipping the body headliner edges over the inner flange of the body sunroof opening and positioning the previously-loosened vinyl covering strip.
Finally we refit the headliner retaining panel and hope we haven’t misplaced any of its screws.
Not re-installed:
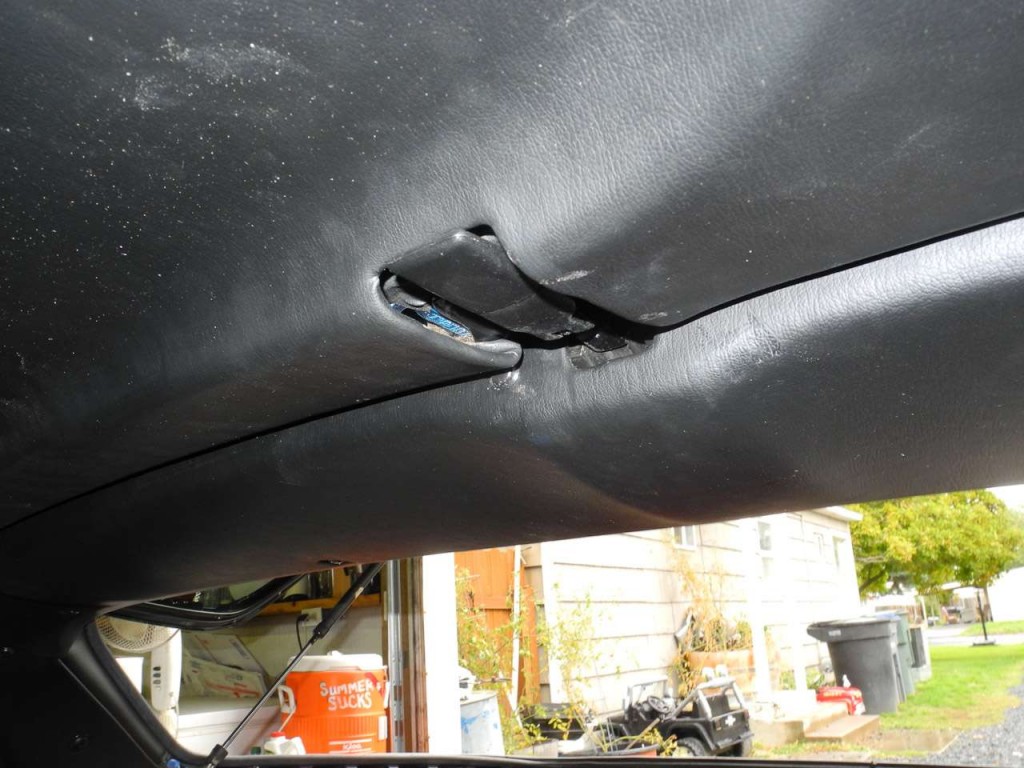
Finished. Took about 2.5 hours (not counting over twice as much time to document this). Looks reasonably tidy even under the harsh light of direct camera flash. If I were to do it again, I would perhaps use the black gaffer tape more liberally, to further hide the blue-painted inner surface of the sunroof panel, but it is nearly impossible to see in normal light.
-16
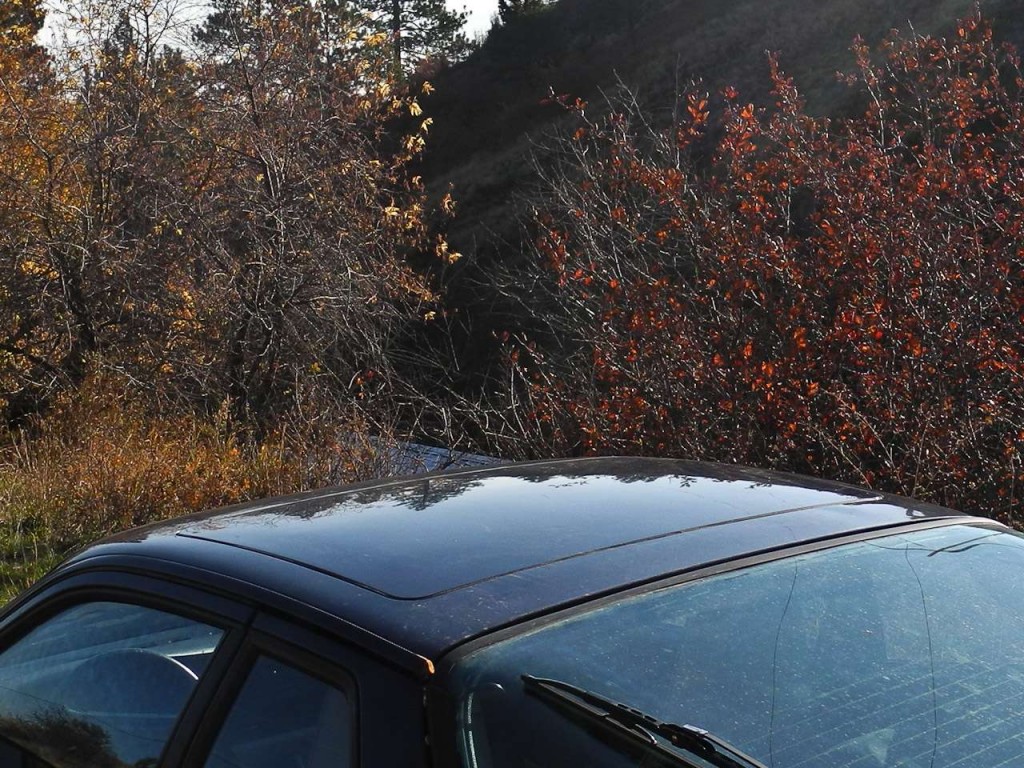
The end result is a smoothly-operating, tightly-fitting arrangement that does not seem to leak air or water. I wish I had done this a long time ago. Who needs a power sunroof, anyway?


