Ouch

More details and followup video here.

Posted in Uncategorized | Leave a comment

Blue Rascal Sunrise

Posted in At Play | Tagged | Leave a comment

The Key Thing

Reasonably happy at my success in obtaining a duplicate key (see “The Key”), I went on this morning to do a little key-inspired photography:


Posted in At Play | Tagged | Leave a comment

Scampers with the Blue Rascal

Mildly elated after my earlier at least semi-success with a $1.39 key duplication and the now beautifully functioning rear hatch, I did what had to be done.  I sought out a few of my favorite stretches in the nearby foothills to exercise (exorcise?) the little beast.  At a couple of brief stops, I grabbed a few stills of the thing at rest, including a couple where I was inspired by the landscape and the lighting to try an impressionistic twist.  For whatever it was worth …

Posted in At Play | Tagged | Leave a comment

The Key

20130921-DSCN3617One of the first things I customarily tend to when I acquire a car is to ensure that I have a duplicate set of keys.   But for some reason I have neglected to do so for the Blue Rascal.  Herman told me of his quest to have a key made, and by then I had read all kinds of adventures and misadventures on Rennlist, 944Online, Pelican Parts, etc.  And, of course, I had read the daunting statement in the 944 Owners Manual that suggested that I could obtain duplicate keys in case of loss from my Porsche dealer only if I had the original key number, which apparently was originally furnished on a separate plastic tag — long gone by the time I bought the Rascal.

Upon presentation of your VIN number, along with suitable documentation such as car title and ID, some have paid over $100 to have their Porsche dealer order a new key, I had also learned.

So, today I arose from bed determined to procrastinate no longer.  I had earlier disassembled my key to see if I could get a new battery for it — couldn’t find one and found the internals of the key head with integrated light to be very corroded and in tiny pieces that could barely be fitted back together.

Turns out that wife Kim needed to visit her favorite hardware store, local and locally owned, to track down a replacement for an ancient light fixture.  So I tagged along and asked them to make a duplicate key.  I told them that I understood that a VW or Audi blank would work, so we tried that first.  Two keys later, no success.  Then an employee looked into a thick manual and found some information for Porsche 944 in fine print.  But no matching blank.  But by physically comparing my well-worn original with other blanks, he found one that seemed to have potential.  Cut that and it worked for the rear hatch with some jiggling, ignition with a little more jiggling, but not for either door.  We walked back inside and the employee found another of his co-workers who was said to be the truly experienced person for the job.  Two more tries with a new “expert” with cutting no-name blanks and we finally came up with something that worked fairly well, would definitely do for an emergency backup, although not as smoothly as my original.

The second “expert” employee also engaged me at length about how great is was to see someone actually driving an old Porsche, instead of stashing it away as a garage/trailer queen.  He turned out to be a fancier and rebuilder of old Chevy trucks.   And he ended up insinuating himself into  some fine-tuning of the rear hatch adjustment (which now works very nicely! ), shot some of my various latches and hinges and connections here and there with his personal lubricants of choice (including Seafoam Deep Creep and Blue Works Dry Lube).

Oh, yeah.  Finally, I had to pay for all this.  My charge — exactly $1.39.


Posted in Uncategorized | Tagged | 1 Comment

Magnus Walker, Again

Brings back memories of the old neighborhood.  Used to do Italian tuneups across the bridge, a short distance from my warehouse art/photography studio at the crossroads of  the garment & flower districts, on the L.A. River.   I’d swear I can see my old building in some frames of this video.


If I couldn’t have a Singer, I’d take a Walker.  More Magnus.  And even more.

And visit Magnus’ own site: http://magnuswalker911.blogspot.com/p/urban-outlaw.html

Posted in Uncategorized | Tagged , | Leave a comment

IMS Class Action Lawsuit

ims_lawsuitThis is probably old news for many, especially if you own the affected 2001 – 2005 911 or Boxster models, but you may be eligible for settlement under the terms of a class action lawsuit around intermediate shaft (IMS) failures.  This settlement has been publicized in the PCA newsletter this summer. Although the issue has been known for several years, only recently has Porsche agreed to a settlement.   To learn more technical details around this fiasco, see sites such as IMS Retrofit or this video:

Posted in Uncategorized | Tagged | Leave a comment

Ferrari of Another Stripe

Brother Dennis reports going to a west side L.A. restaurant Monday night and seeing this Ferrari parked on the street in front.  Must be a vinyl wrap?

ferrari_zebra_1280x960

Posted in Off Topic | Leave a comment

Herman Installs New Rear Speakers

Herman tells me that the rear speakers in his ’87 944 (slate grey metallic exterior/burgundy interior; you know, that one) needed to be replaced, so he sent along a message describing how he did it, in case I ever needed to cover the same ground. So, why not share this information?

To orient ourselves, I made a couple of quick snaps of my speakers.  They are positioned on the side panels immediately behind the seats and just beneath the rear quarter side windows:

seat to the left; side window just above the speaker

seat to the left; side window just above the speaker

view looking over driver's shoulder and past seat belt

view looking over driver’s shoulder and past seat belt

Now, to quote from Herman’s email:

There are several tools one should have before starting (besides a set of 4 X 6 speakers.) Incidentally I purchased JBLs and am happy with them. They are relatively economical and fit perfectly. They also have slots rather than holes, which makes installation easier. Be sure to have a shorty philips head screwdriver, two flat blade screwdrivers, a pair of needle nosed pliers, and a good flashlight–it’s dark in there. Also a foot long object such as a dowel rod.

There are two philips screws to remove, one on the door sill where the panel wraps around the front, and one about where a passenger’s elbow would be. Both are easy to find and remove.


photo 1


Then remove the black strip of trim that holds the panel to the metal. You can see it vertically in the second photo. It is easy to remove, but be a bit careful, as over time the vinyl cover (in my case Burgundy) can attach itself to this trim piece or even the metal, and tear if you pull on it improperly.


photo-2-(1)


Secondly, you must work the vinyl cover out from underneath the black rubber molding around the lower edge of the window. I did this by carefully using a flat blade screwdriver, prying up on the rubber at the front of the window in the corner and carefully pulling out the vinyl. Again, it can tear, so be very patient. After it is started, you can slowly pull the panel outward, and the rubber should release, but do it carefully and watch that it doesn’t stick underneath and tear.

Take your dowel rod and prop the bottom of the panel away from it’s original position about a foot. With your shorty philips, take out the four screws, pull off the two wires on the back of the speaker, and remove the old speaker. Pull the wires out as far as possible for re-installation. There is usually some slack to be had.


speaker_480x640


You will notice that the four metal screws have washers and one nylon spacer each. This spacer keeps the speaker mount from touching the metal, which secures it effectively and dampens any undesirable vibration that might occur. Two of the nylon spacers fell out, but were easy to retrieve. They simply fell down into the cavity between the panel and the body. Another good reason to have a flashlight.


diagram2_1138x805


Fit the speaker wires over the corresponding posts, which are different sizes so you don’t have to worry about polarity. Be careful as the posts are fragile. I checked mine and found that the fit was not tight, so after slipping the wires over the posts I gave them a little squeeze with my snip-nose pliers.

Because the replacement speakers had slots rather than holes, I was able to pre-set the back screws. It is easiest, especially if the spacer has fallen out to put the screw through the washer, then the spacer, and screw it part way in with your fingers. Do this with both rear screws, leaving room to slide the speaker mount between the washer and the spacer. In other words the washer should be on the outside of the speaker mount to help hold it securely.

After the speaker is slid in under the two rear screws, insert the other screws. They are closer and much easier to start. I then snugged them down and then tightened the rear ones.

I then took out the dowel rod and closed the panel. The first thing I did was to reinstall the rubber molding under the window over the panel. It is shaped to fit neatly under the molding. So here is were the two straight blade screwdrivers come in. I started at the back near the rear corner of the window and gently pried up on the molding as I gently pushed in place with the other screwdriver. I did this about 1/2 inch at a time. The molding on my car is quite strong and fit down very well over the panel and the bit of excess vinyl. Then I fit the black PVC strip around the door molding and everything looks as good as new.

The key word here is patience, because there isn’t much room to work, so you will have to contort a bit, but it is worth it, and not very difficult if you take it slowly.

Thanks, Herm.


Posted in How To - Tips - Hints | Leave a comment

Batten Down The Hatches

As the Blue Curse pounds down the road, it is not always easy to isolate particular sounds and noises from the jumbled cacophony of engine music, road hums, tire whines and the rest of it, but lately more and more distinct rumbles and rattles can be heard emerging from the rear deck.  So I find that the rear hatch no longer fits as snugly as it once did.  The hatch seal seems to be reasonably supple and properly fitting, so I have been investigating the female-male relationship between the hatch pins on the rear corners of the hatch and their sockets in the body mating surface.  I spent some time trying to re-adjust the depth of the hatch pins, but with limited success.  But upon scrutinizing the receiving sockets, I could see that the inset material there was badly deteriorated.  So with a new set of hatch pin seats in hand — these non-standard replacements come from Only944.com — I set out today to see what replacing the old with them would entail and produce.  Here we go:

Step 1

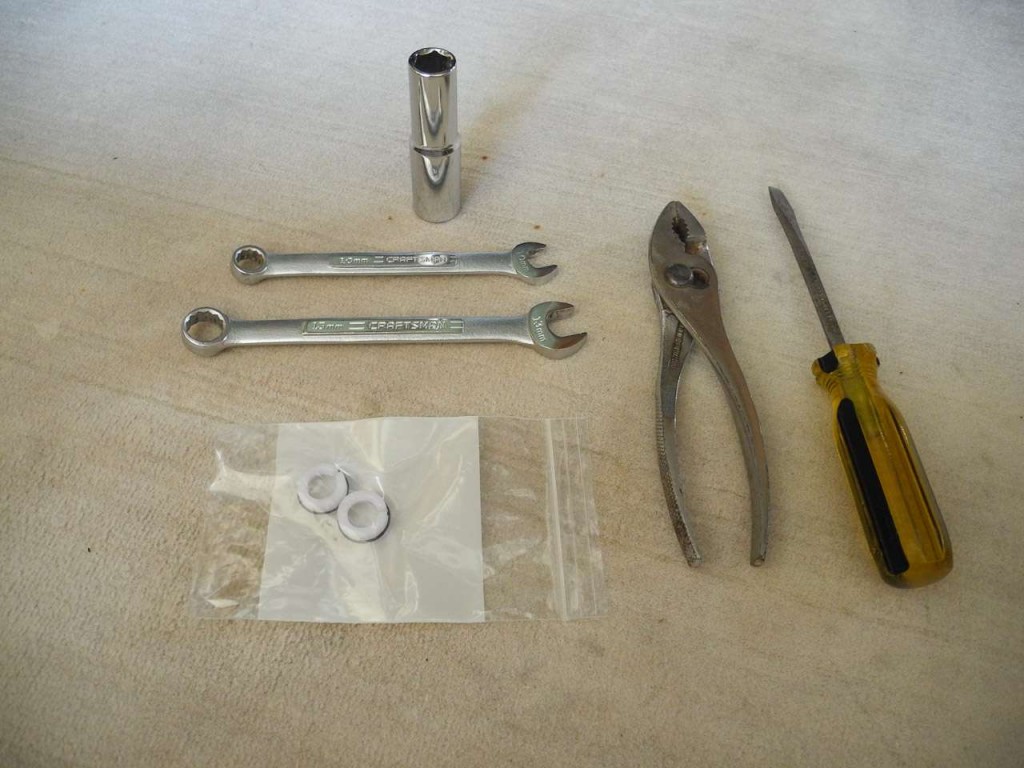
First, I assemble some tools, among them a 10mm wrench for the hatch locking mechanism retaining bolts, a 13mm wrench and pliers for final hatch pin adjustments, a screwdriver for whatever prying or the like might be required, and the new (nylon?) replacement hatch pin seats themselves.  Oh, yeah, the instructions from Only944.com suggest that I will need a socket just a hair smaller than the roughly-13mm diameter of the seat, so I grab the nearest thing I see.  Not shown are my indipensable Gorilla Grips.
01_20130914-DSCN3450

Step 2

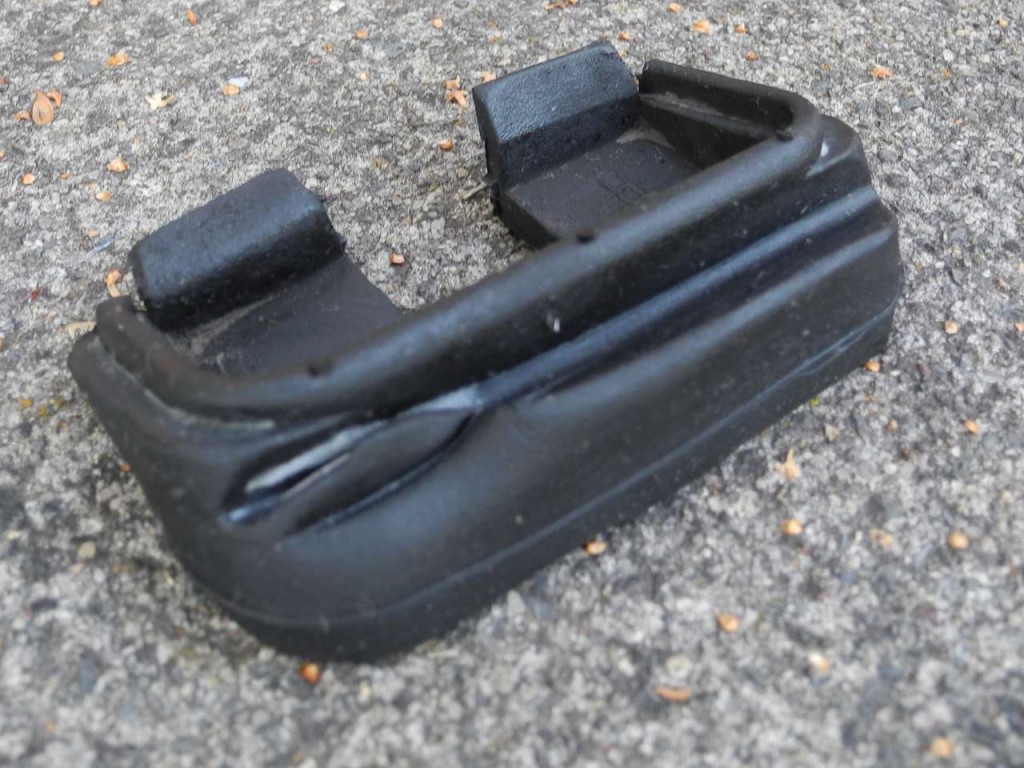
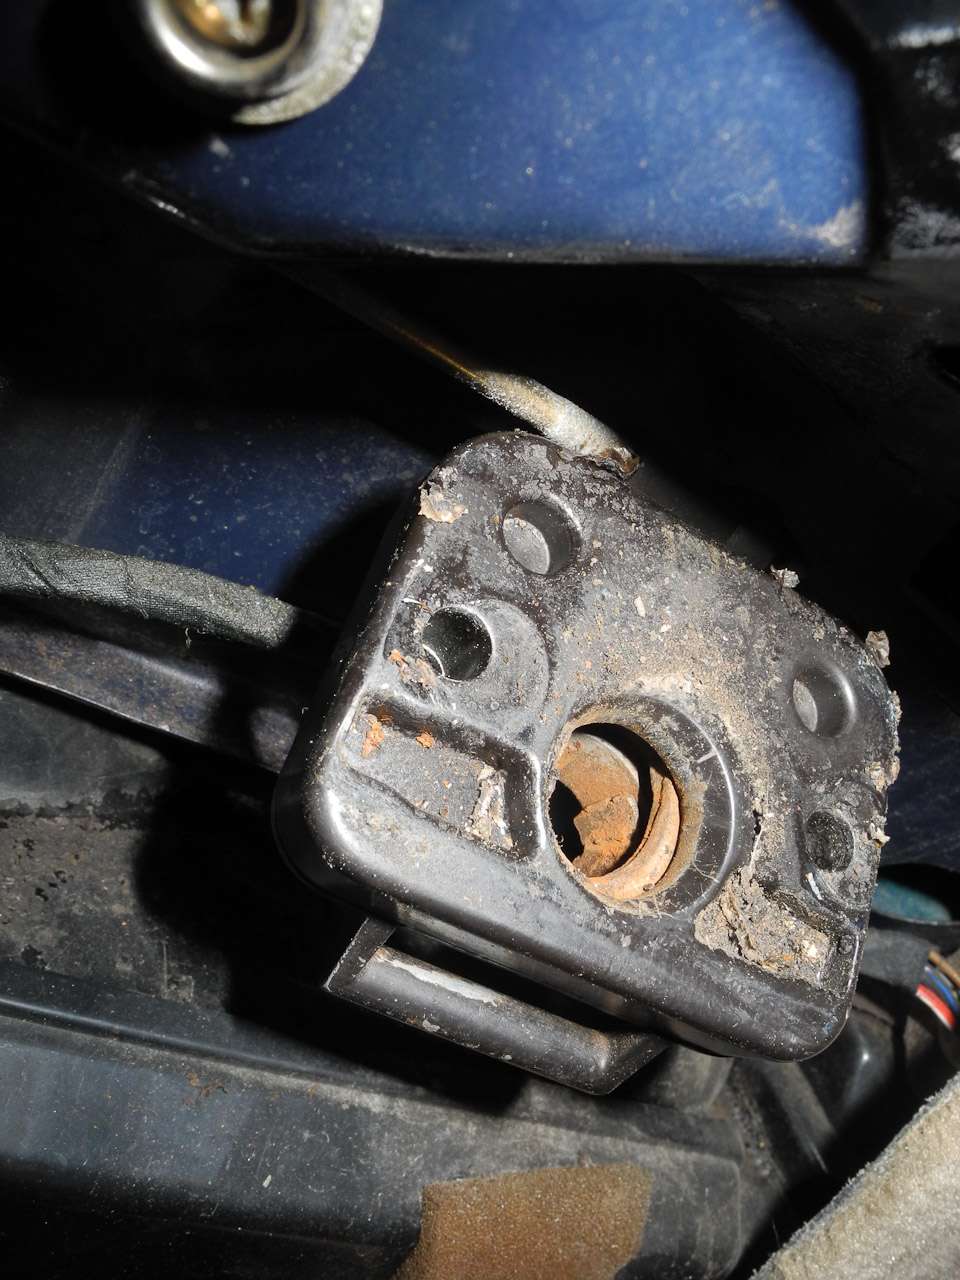
Once the hatch is lifted, next up is the matter of removing the rubber seal that tops the retaining bracket and bolts penetrating the body and holding the inside lock mechanism in place.  Looks kinda grim down in that rusty hole.

02_20130914-DSCN3463

Takes a little tugging and careful stretching.

03_20130914-DSCN3469

The thing seems to be fairly supple and in better condition than it looks.

04_20130914-DSCN3470

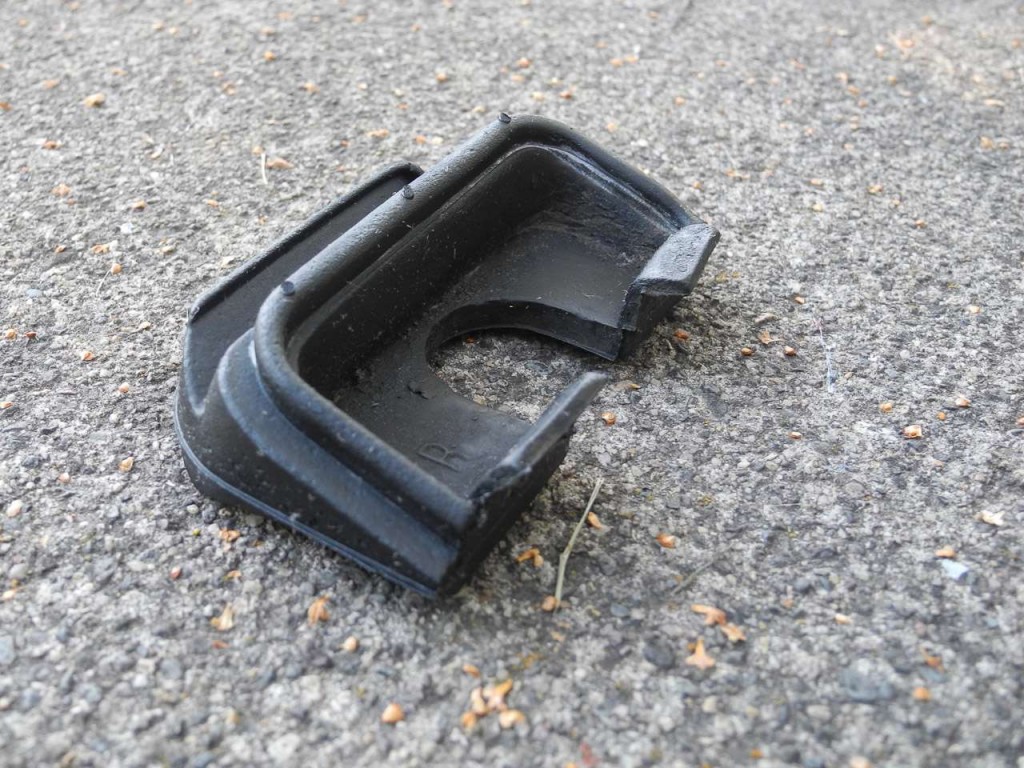
A little gentle screwdriver prying is all that is needed …

05_20130914-DSCN3471

And it is out.  Next, a little customary cleanup and some non-silicone dressing.

06_20130914-DSCN3472

07_20130914-DSCN3494

08_20130914-DSCN3495

UPDATE 9/15/13:  Today I just came upon a tutorial from fellow 944 owner Dave in London, whose wonderful site, 944 Foot 2 The Floor, covers, in his latest piece,  installing new rubber hatch seals of the kind discussed here.  Fortunately, my seals appeared to be in much better condition than Dave’s, so I reused mine as you have seen.

Step 3

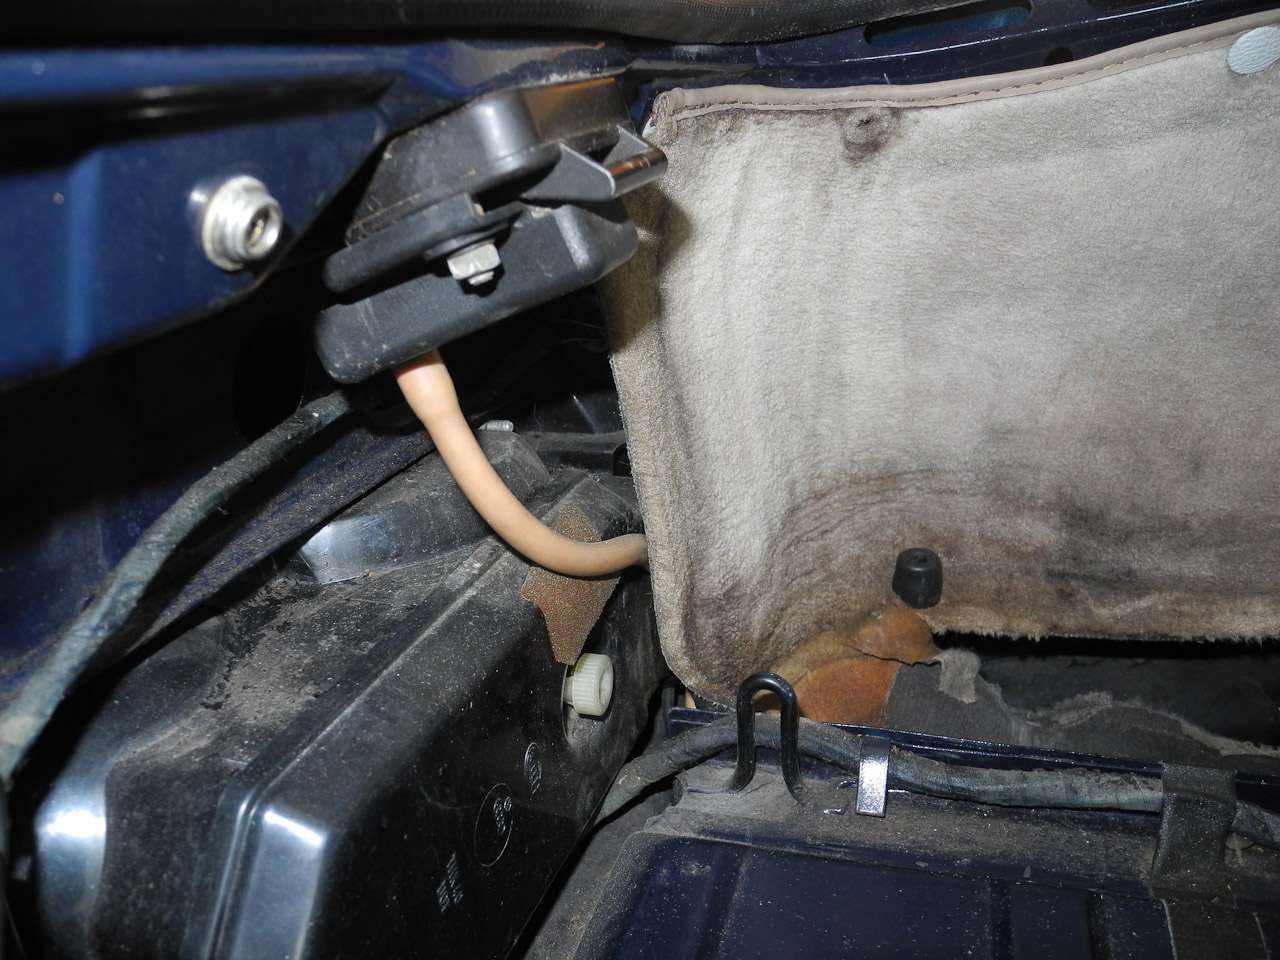
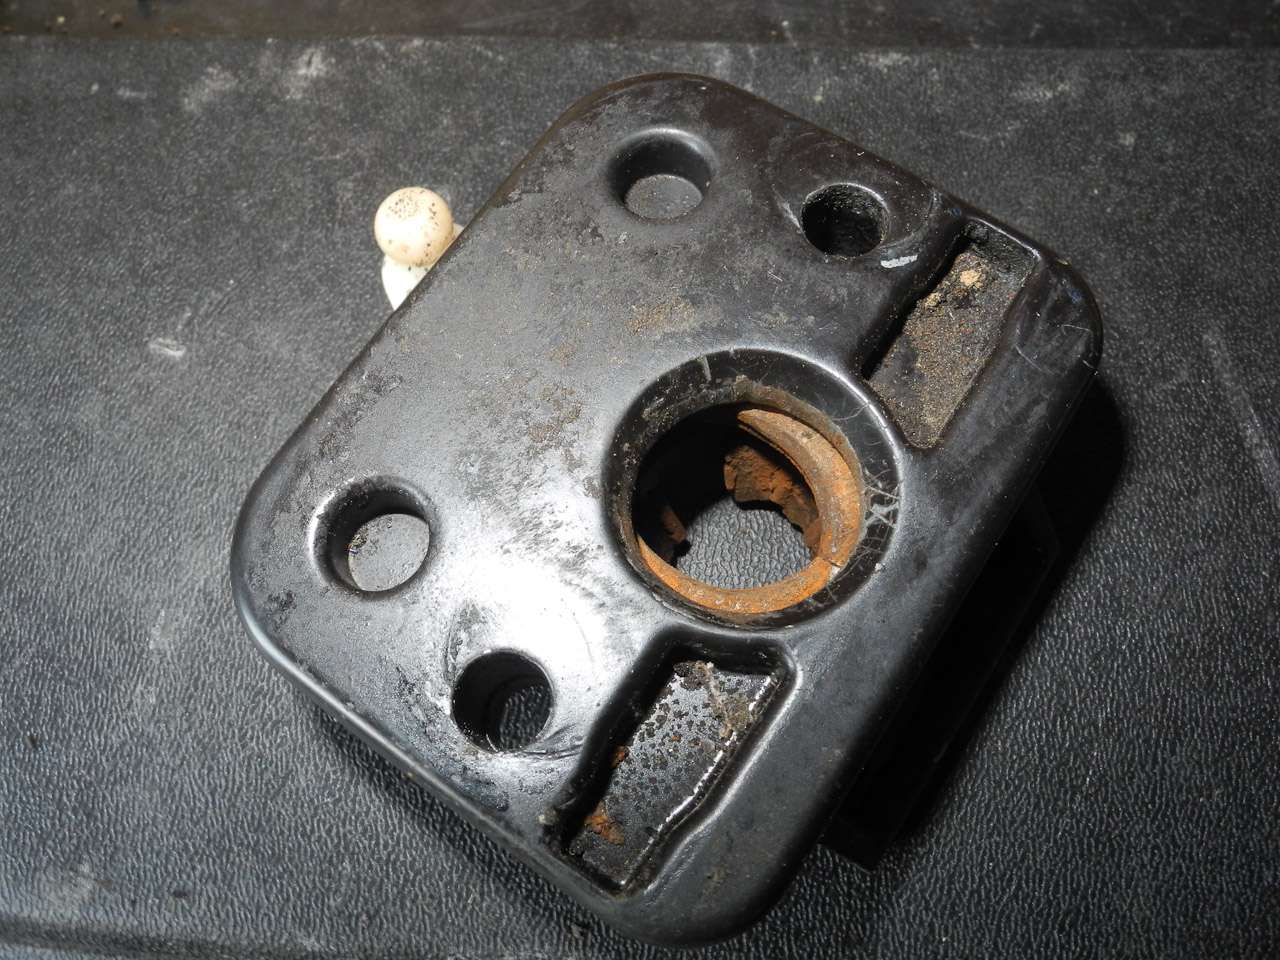
Now the gold (?)  plate under that rubber is exposed, so we need to get to the lock mechanism.  Start by unsnapping your carpet to reveal the inner tail end of the rear deck.

09_20130914-DSCN3473

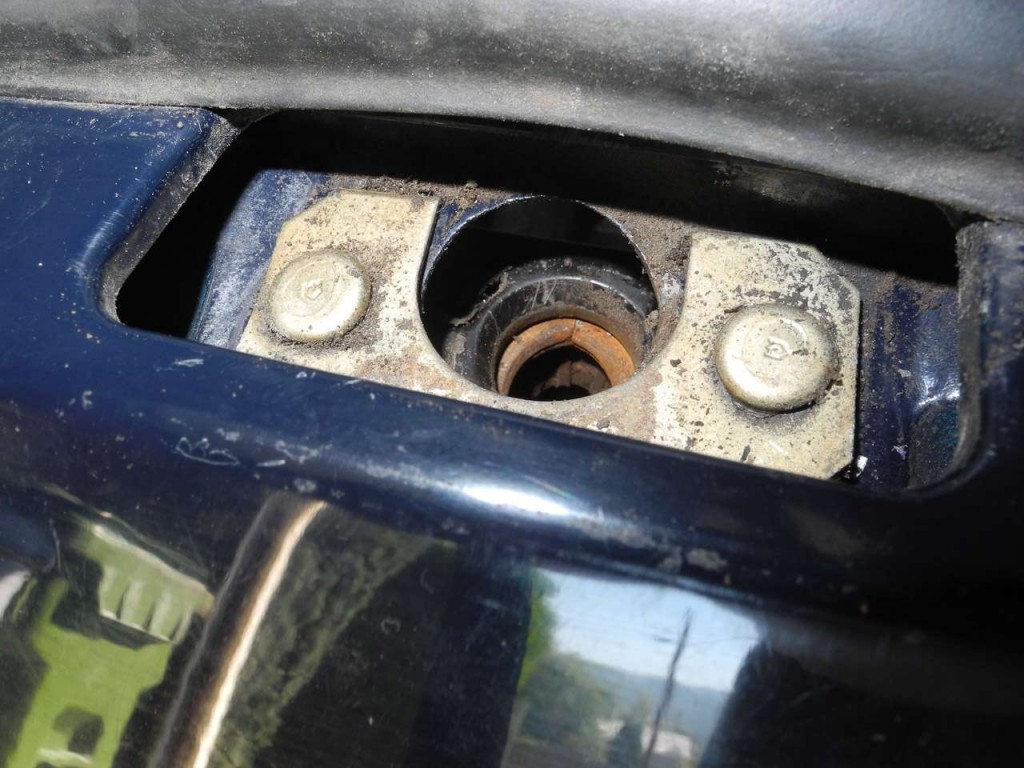
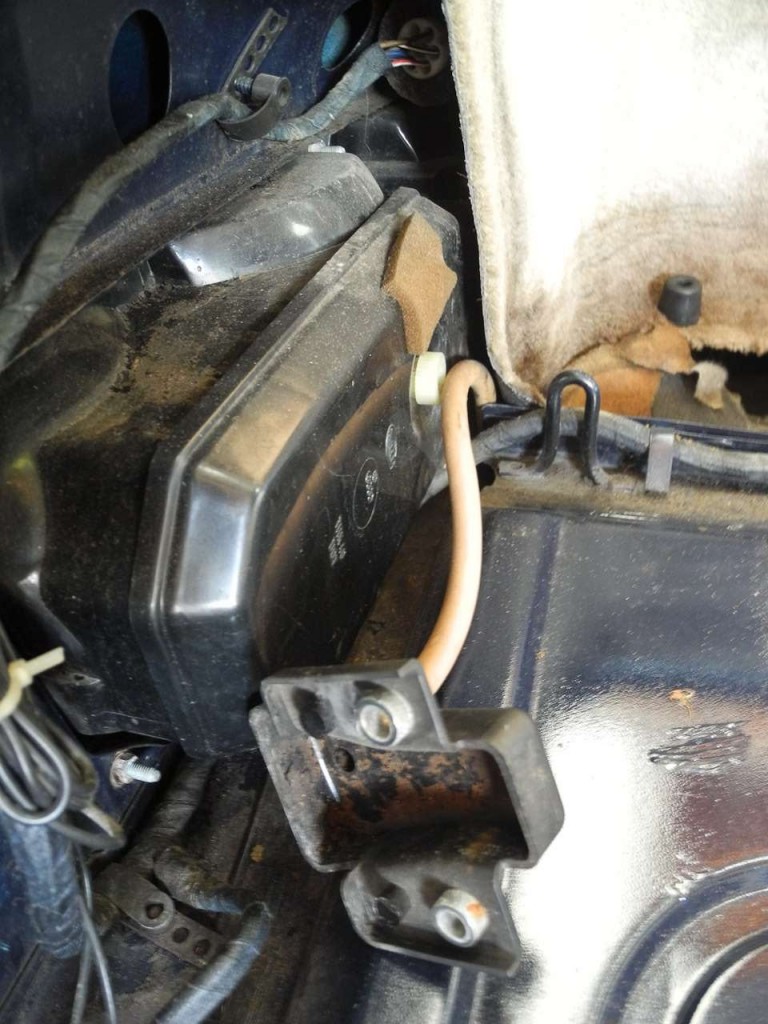
Leaning over the rear deck and peering inside the hatch area, we can see the lock mechanism just above the taillight housing.  A hose exits out the bottom tray that is held by the bolts that we saw on the gold plate.

10_20130914-DSCN3459

And our 10mm wrench is applied to each bolt on either side of the lock mechanism.  (Avert your eyes from the views of non-concours carpet and other questionable areas.)
11_20130914-DSCN3464
Now we can remove the gold plate, gently pushing upwards from the inside on the now-de-nutted bolts.   I should mention that my Gorilla Grip “Grease Monkey” gloves were absolutely splendid in helping me handle the nuts and washers which could have easily cascaded in freefall down into the bowels of the hatch.
12_20130914-DSCN3474
13_20130914-DSCN3466And now the bottom tray of the lock assembly hangs loose, so we push it aside.

Step 4

Now we need to detach the lock mechanism itself.  This starts to get a bit trickier.

14_20130914-DSCN3476

The rod above the lock mechanism extends from the keylock turn itself and is terminated here with a ball socket end into which a ball on the white lever above the lock is inserted.  But there is a subtle little lever that seems to work as a safety snap on the ball socket, so that has to be released, or pushed aside,  at its top end first.

15x_20130914-DSCN3479

Now a gentle twist on the hatch pin lock assembly itself should snap its ball free from the ball socket.

Step 5

Now that the lock mechanism is free, we can concentrate on cleaning it up.  Only944.com warns us not to use any liquid inside the area where the rubber gasket or grommet or its residue is found.  Just remove the debris and wipe it clean with paper towels or a rag.

16_20130914-DSCN3480

17_20130914-DSCN3481

18_20130914-DSCN3482
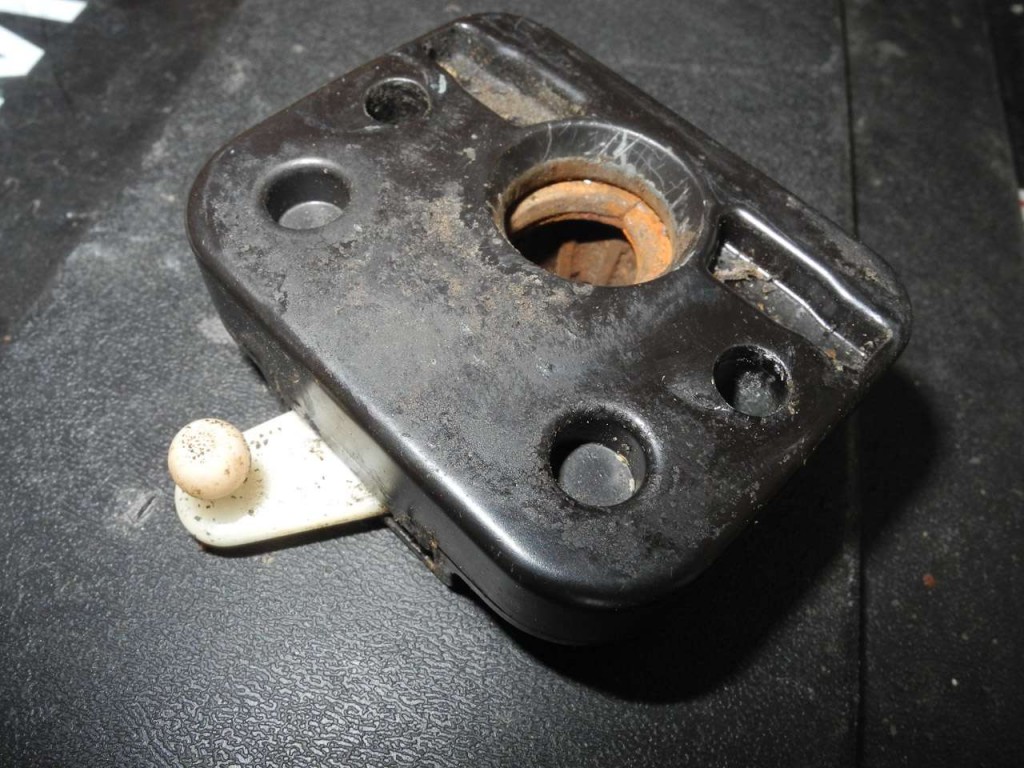
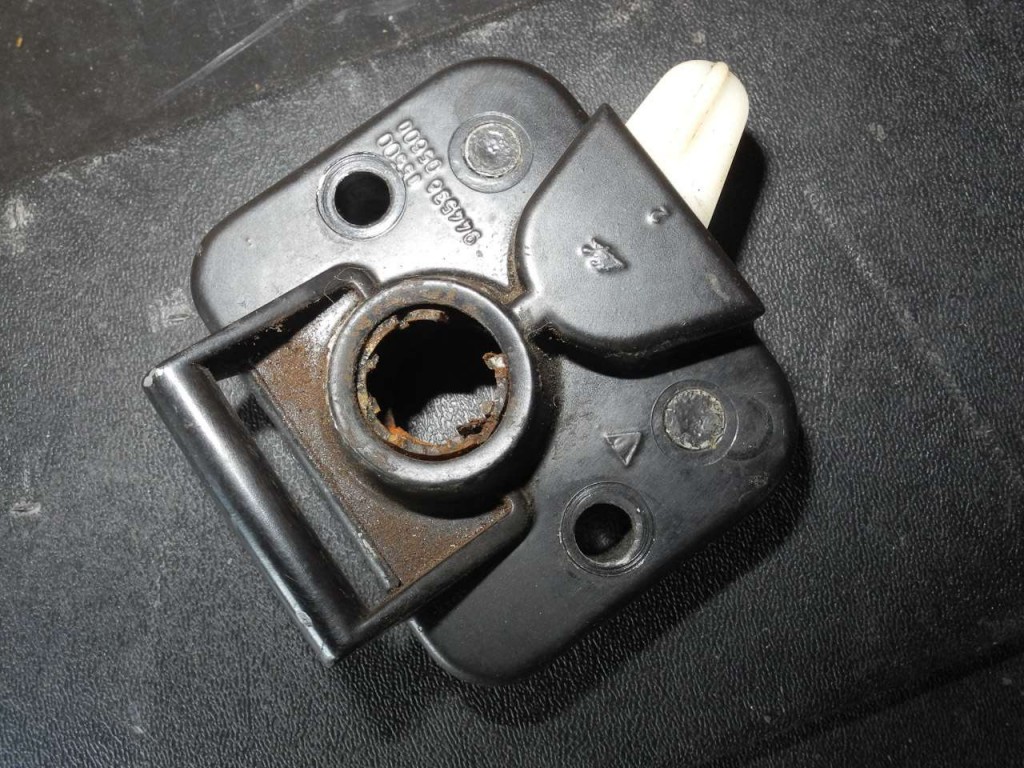
A view of the other side of the lock mechanism.

19_20130914-DSCN3483

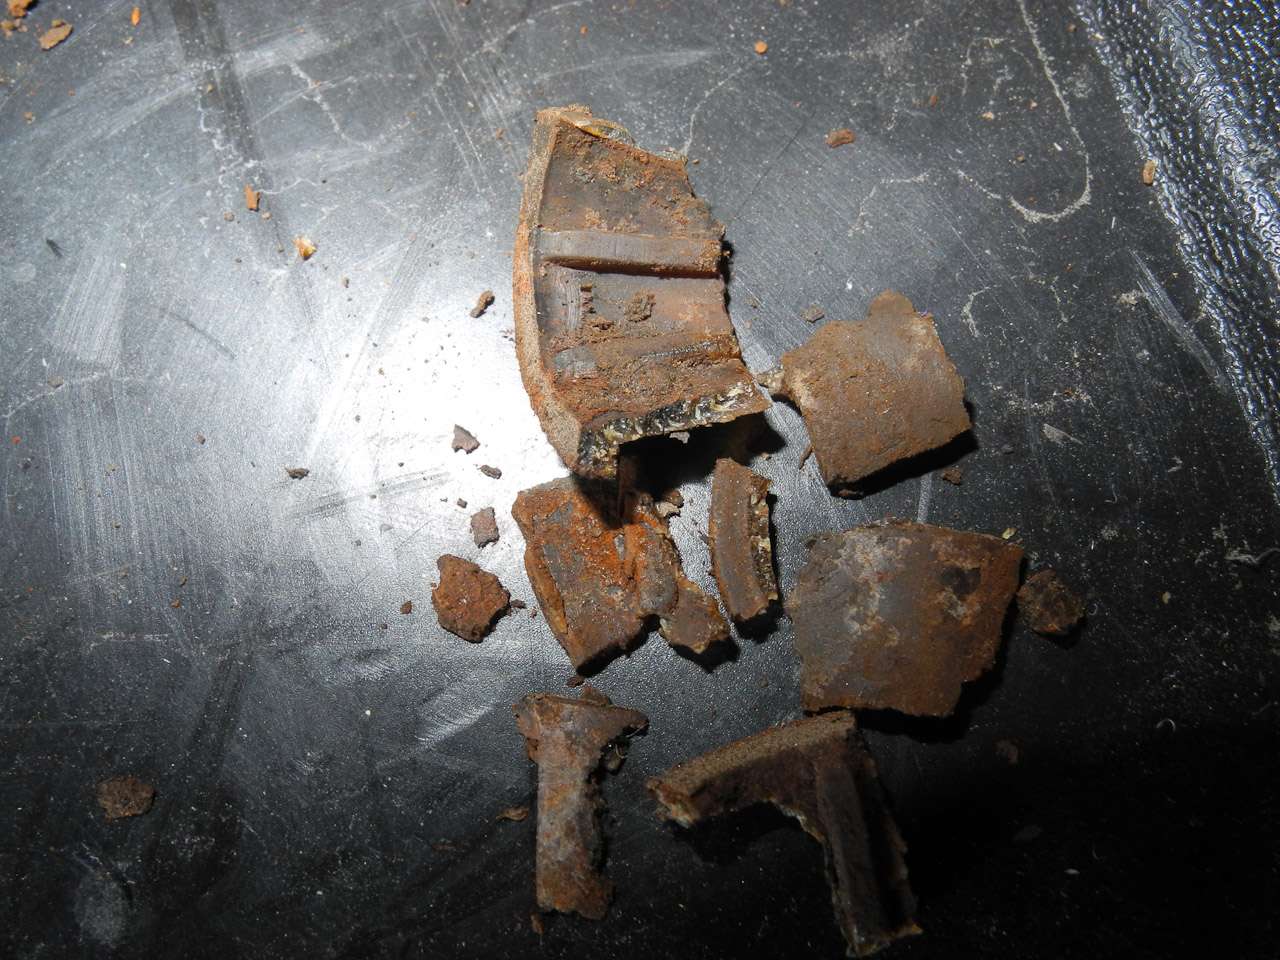
Here’s some of the debris that came out of just one of these mechanisms (you haven’t forgotten that you need to do both of them, have you?).

20_20130914-DSCN3484

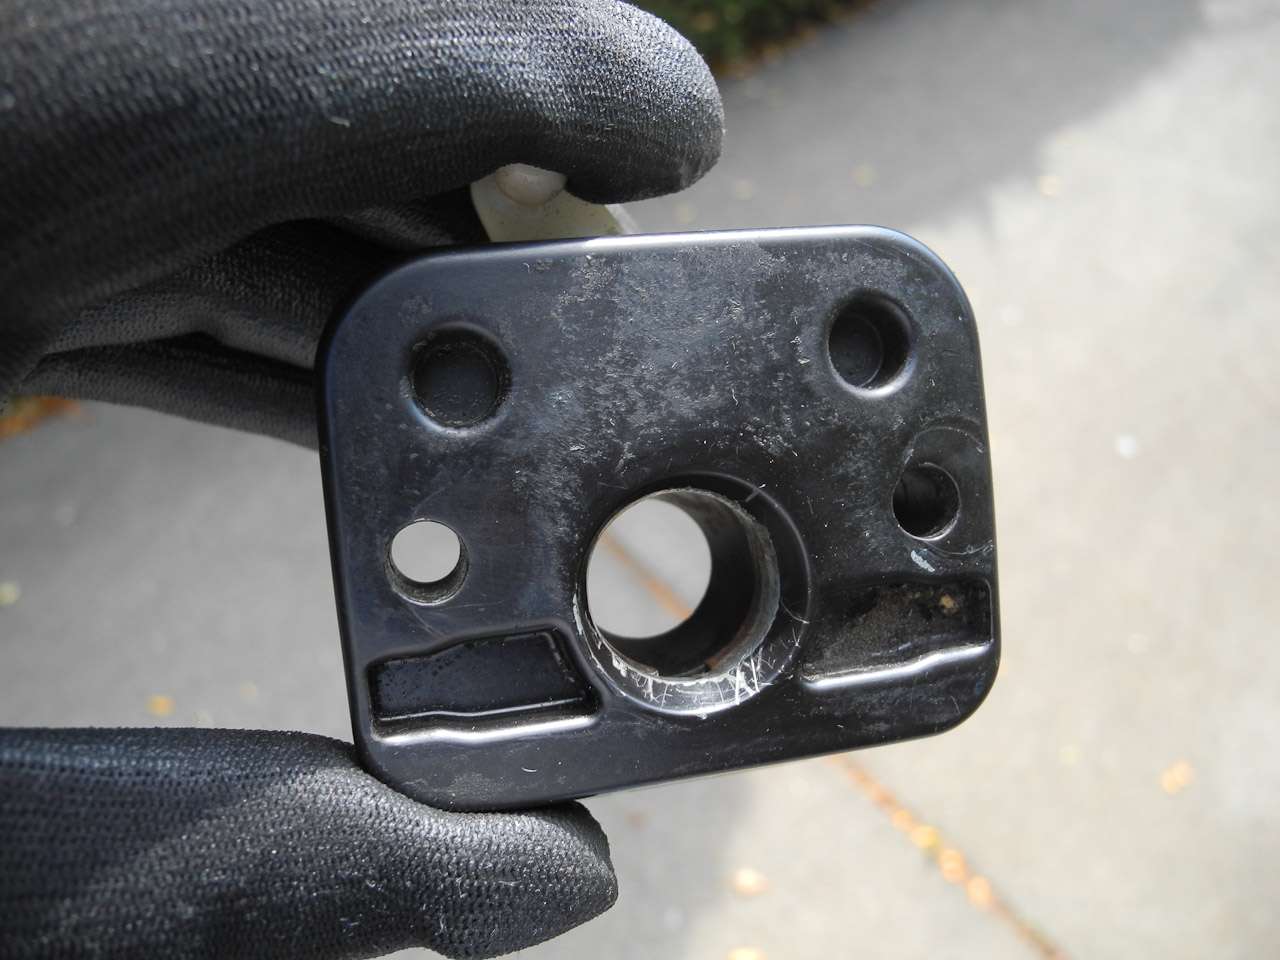
Okay, by now we have a more or less pristine lock assembly that is ready to accept a new Only944 Hatch Pin Seat.
21_20130914-DSCN3486
Step 6

Now we insert the new seat.  Truth be told, on my first assembly, I almost failed the IQ test that it entails, and couldn’t quite get the hang of getting it properly centered and located.  But I went back and studied the Only944 HPS instructions and eventually got it in place.  I ended up using a 12mm socket to help push it through the opening until it smartly snapped into place.  The second assembly took about 10 seconds to install, by the way.  Zen and Art of Porsche 944 Maintenance.

22_20130914-DSCN3504

Step 7

Next, we just needed to put everything back together in the reverse order in which we removed it.  Sounds simple, but that darn ball socket was a bit challenging, especially as I seemed to have only about 1/32 inch free movement.  Then I nearly forgot to snap shut the little locking lever on the socket, which was its own slight but short-lived frustration.  Again, with the aid of the wonderful Gorilla Grips, replacing the washers and nuts was an eyes-closed (the right corner unit was in total darkness that my LED flashlight could not penetrate) easy operation.

Please note that, in anticipation of the final step of aligning everything, you should only finger-tighten the lock assembly bolts to allow movement during the calibration/alignment process.

The final step of re-assembly was to somehow stuff that rubber business atop the gold plate into its receptacle.  Something akin to the trick an octopus has of compressing its own volume and camouflaging itself into a small, unrecognizable shape.  How the heck can a piece of rubber that big fit in such a small place?  Well, with some firm but gentle tugging here and there, I was able to stuff it back into a reasonable facsimile of the thing that I started with.

22_20130914-DSCN3508

20130914-DSCN3512

Step 8

Finally, after everything has been returned to the approximate starting state, except for a shiny new seat-grommet-thing in the hatch pin socket, it was time to address what turned out to be the hard part.  Well, actually, not that hard.

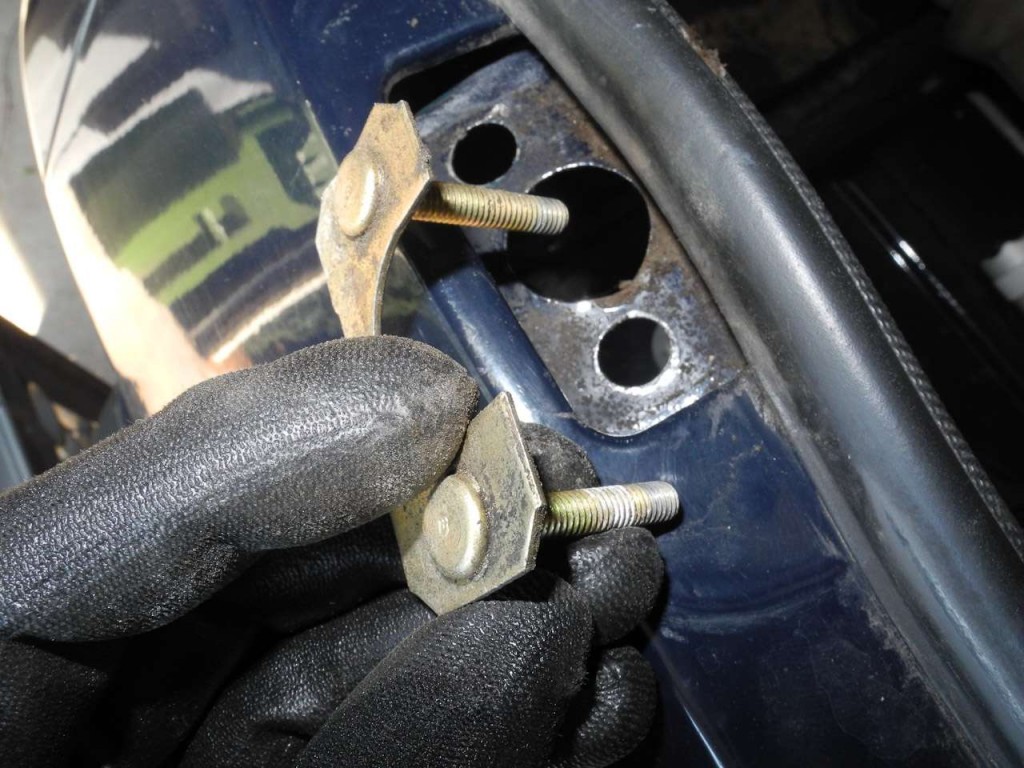
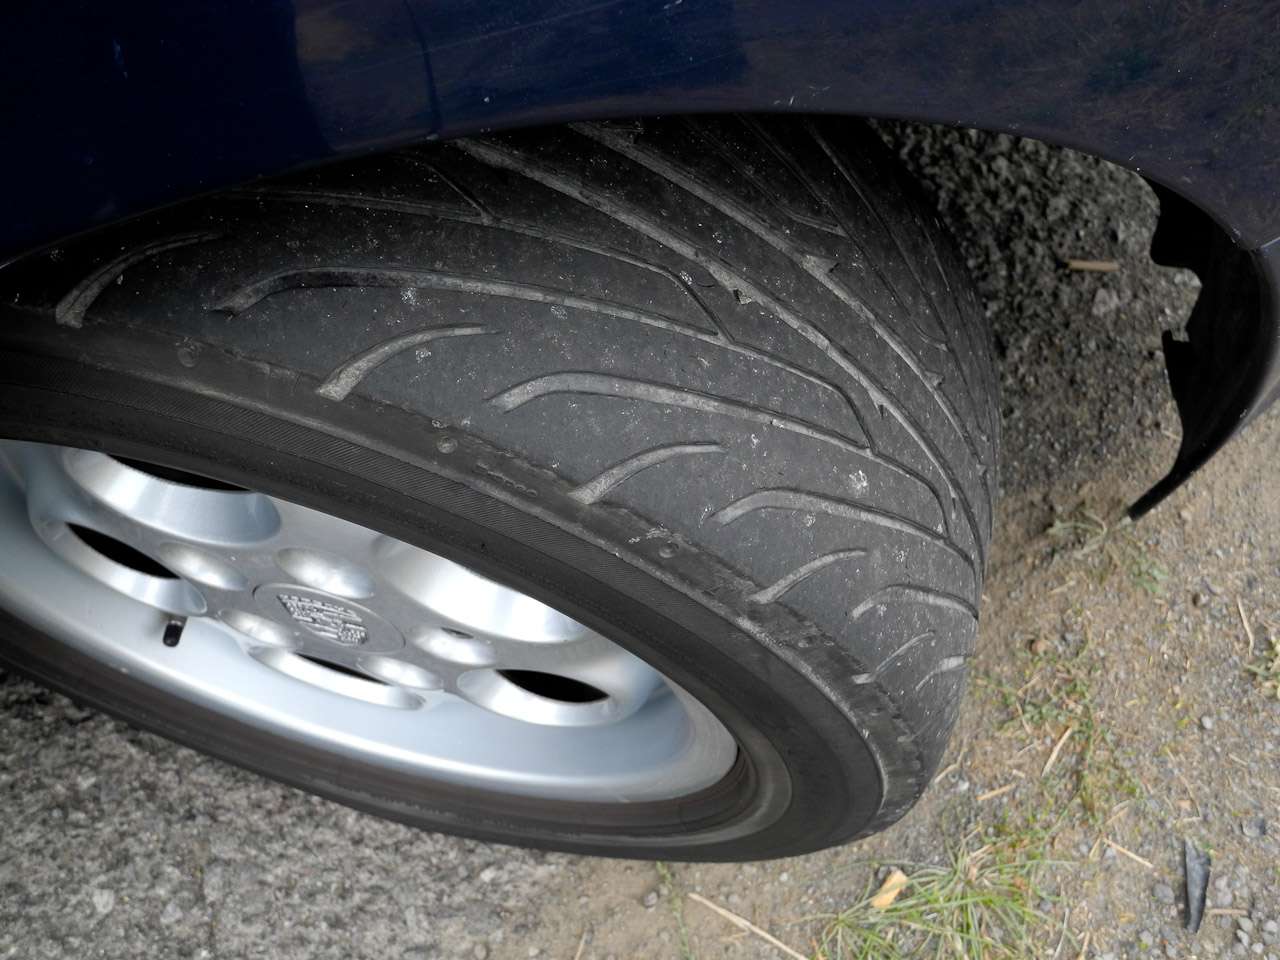
We are talking about aligning everything properly, starting with the male end of this proposition.  You can see that these hatch pins have put in some time during their existence.

25_20130914-DSCN3517

26_20130914-DSCN3518

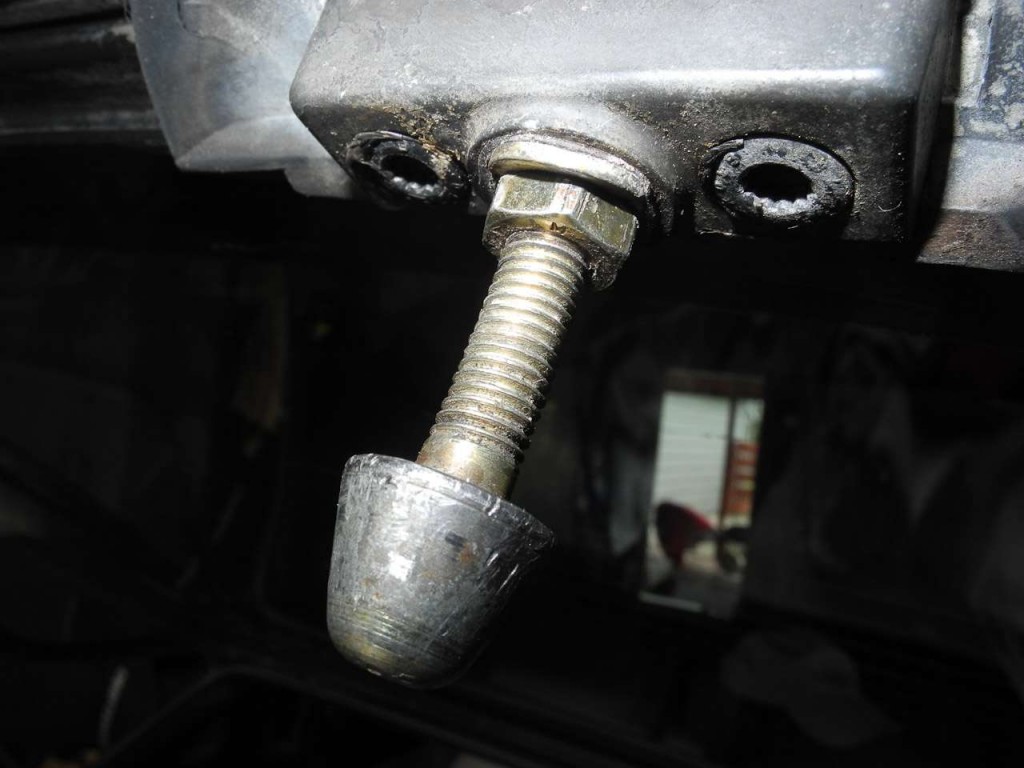
This final step  is a matter of loosening the retaining nut, then rotating the pin itself until you get proper … closure.  And proper locking.  and unlocking.  I have read about five different versions of how to do this systematically and properly, and I suppose that Only944’s instructions are as good as any.  Anyway, I think actual video might better serve to illustrate this process, and since I’m not sure that I achieved absolute optimal results, I may reserve that for a Part Two to follow-on from this post.  In the meantime, I can report that both sides of my hatch are locking down firmly and the thing is rattle-free.  Maybe that’s good enough, at least for now.

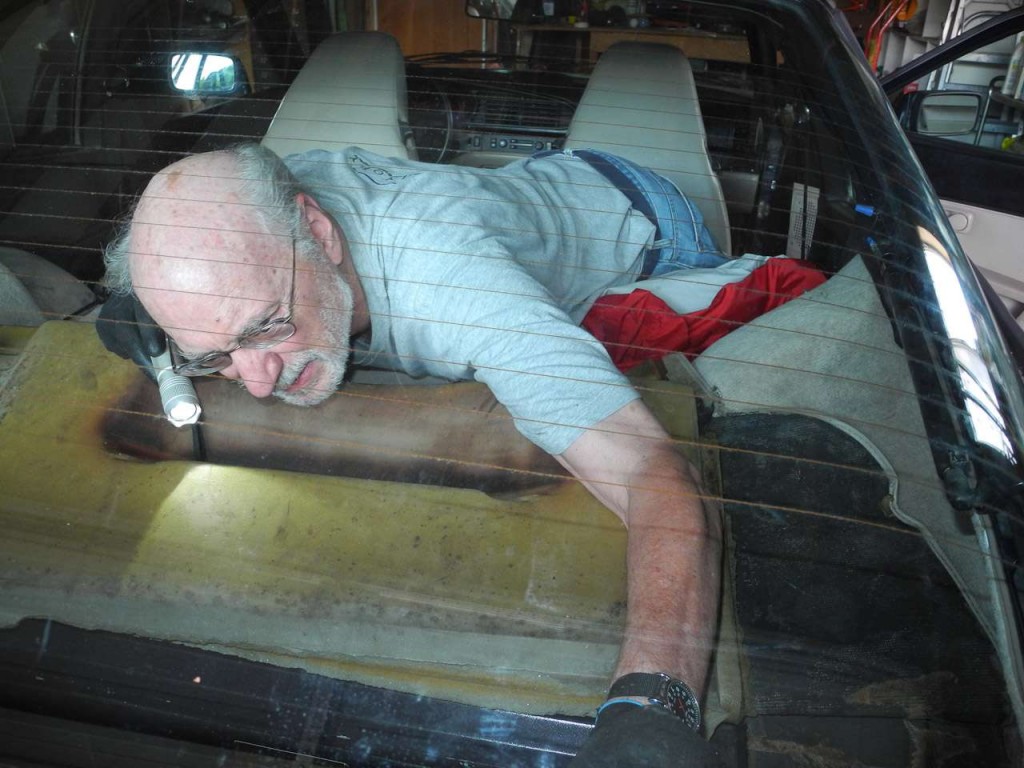
And I find that my dear wife sneaked in to document the awkward part of the final fitment in which I was obliged to wriggle my six-foot, two-inch frame into the back deck with the hatch down to make some adjustments (remember the mention above of only finger-tightening the lock assembly bolts at first?).  Not to mention the afternoon temp today of just under 90 degrees F.  As luck would have it, wife Kim is a yoga practitioner/instructor skilled in human body repair and restoration with massage, so I survived.

27_20130914-DSCN3515

Posted in How To - Tips - Hints | Tagged | Leave a comment